Cinematic Forest Motorcycle AI Video Prompt | Flow Ai Edit
Cinematic Forest Motorcycle AI Video Prompt: Create a Premium 8K Adventure Film
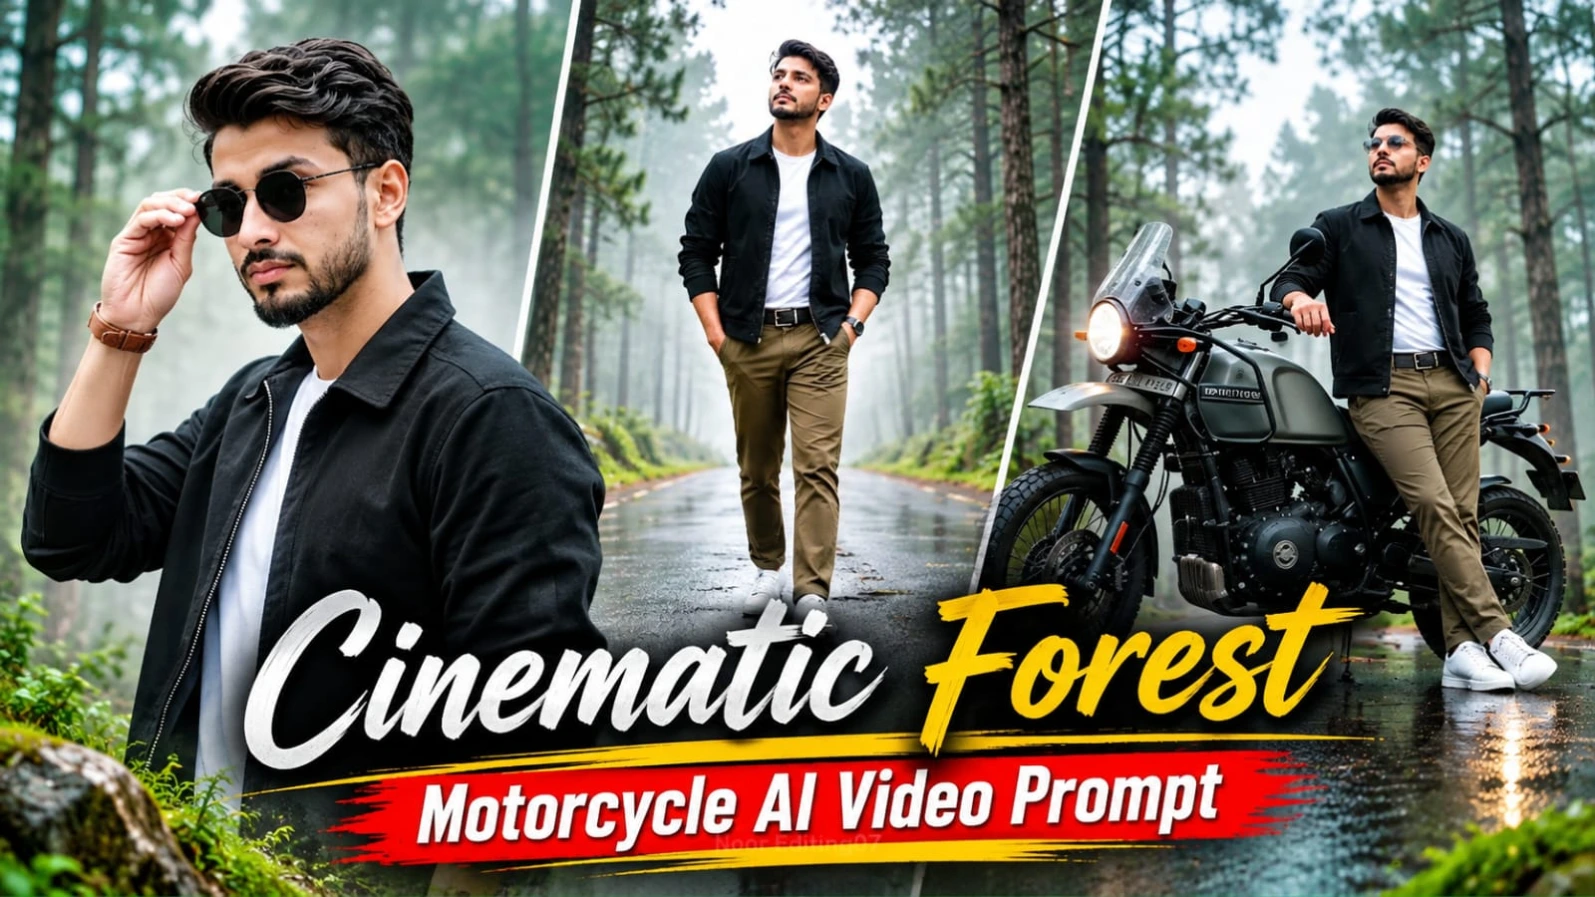
Imagine a peaceful mountain road surrounded by tall pine trees, thick mist, and wet asphalt reflecting the warm glow of a motorcycle headlight. A stylish man stands beside an olive-grey adventure motorcycle, wearing a black work jacket, white T-shirt, olive-brown chinos, white sneakers, and black round sunglasses. The atmosphere feels mysterious, calm, and cinematic.
This Cinematic Forest Motorcycle AI Video Prompt is designed to recreate a reference video shot by shot while adding five new cinematic scenes. The complete video runs for approximately 25 seconds and contains 12 carefully arranged scenes in widescreen 16:9 format.
The main objective is to preserve the original reference video's environment, camera movements, mood, and seven selected scenes while introducing additional close-ups, walking details, and character shots. Throughout the entire video, the man must remain clearly visible as the main subject.
A Misty Pine Forest Cinematic Environment
The location is a misty pine forest hill road with wet asphalt, dense trees, drifting fog, and soft overcast daylight. Mossy and ivy-covered tree trunks add natural detail to the surroundings.
The road should look damp and reflective, creating beautiful reflections from the motorcycle's headlight and the surrounding light sources. Fog should move gently between the trees, adding depth without completely hiding the character.
The colour palette is intentionally muted. Instead of oversaturated green foliage, the scene uses soft olive, grey, and beige tones. Warm orange-amber motorcycle lighting provides contrast against the cool misty environment.
The overall atmosphere should feel like a premium motorcycle commercial or a cinematic adventure film.
Consistent Character Identity and Appearance
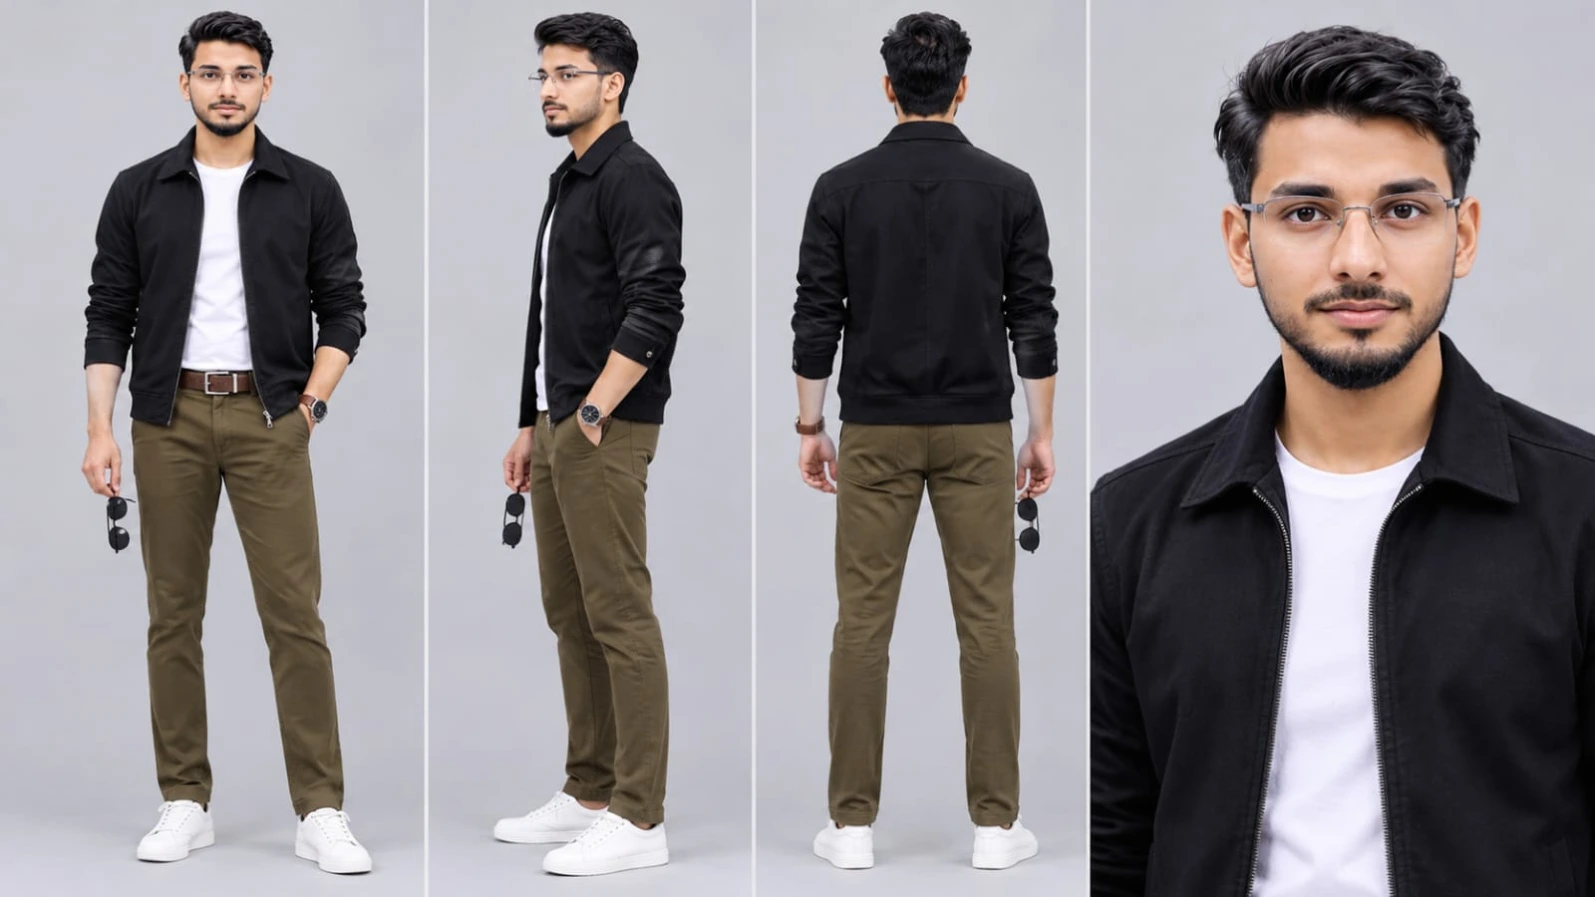
The uploaded character sheet is the main identity reference. The same man's face shape, facial features, hairstyle, beard, skin tone, and body build should remain consistent in all 12 scenes.
His outfit is locked throughout the video:
Black collared zip-up work jacket, worn open.
Plain white crew-neck T-shirt.
Olive-brown chino pants.
White leather low-top sneakers.
Brown leather belt with silver buckle.
Brown leather strap watch with black dial.
Black round sunglasses.
The facial appearance should remain clean, clear, and naturally realistic. The prompt requests an even-toned, professionally retouched cinema appearance without visible pimples, acne, spots, red bumps, scars, or unwanted blemishes.
At the same time, the skin should not look artificial or plastic. Natural facial proportions, sharp eyes, realistic expressions, and consistent side-profile details are important.
Reference-based identity guidance can help maintain character consistency, although no AI generator can guarantee a perfect match in every frame.
The Olive-Grey Adventure Motorcycle
The motorcycle is another important visual element. It should match the reference vehicle throughout the entire video.
Its appearance includes an olive-grey body, round headlight, mirrors, handlebar, and black seat. The motorcycle remains parked on its side stand and must never be ridden or driven.
Even when the character sits on the stationary motorcycle in the darker scene, the vehicle must remain completely still. Only the camera and natural environmental elements should move.
The warm headlight glow creates an important visual connection between the motorcycle and the misty forest road.
Understanding the 12 Cinematic Scenes
The video follows a precise 25-second timeline, combining seven reference-based scenes with five newly added scenes.
Scene 1, from 0–3 seconds, opens with a low-angle wide shot from road level. The man leans casually against the parked motorcycle and looks up towards the tall misty trees. The warm headlight glows while the camera slowly arcs right and pushes closer.
Scene 2, from 3–5 seconds, introduces a new tight side-profile close-up. The man looks towards the trees as soft misty light falls across his face. Water droplets fall in the background, while a very slow push-in creates a cinematic portrait.
Scene 3, from 5–7.3 seconds, cuts to a front-facing low-height wide shot. The man walks towards the camera with both hands in his pockets. The camera moves backwards smoothly while he looks towards the trees and then softly ahead.
Scene 4, from 7.3–9 seconds, begins with a ground-level tracking shot of his white sneakers and olive-brown chino hems walking across the wet road. Puddle reflections are visible before the camera tilts upward to reveal his full body and clearly visible face.
Scene 5, from 9–10.3 seconds, shows a handheld upward tilt along tall mossy and ivy-covered tree trunks. Thick mist and soft light create depth. The man remains clearly visible in the left foreground throughout the camera movement.
Scene 6, from 10.3–12 seconds, slowly tilts down towards the parked motorcycle from behind. Its black seat, grey fuel tank, mirrors, and handlebar are visible. The man stands beside it in a three-quarter view, resting one hand on the tank.
Scene 7, from 12–14 seconds, introduces a new medium close-up of the man's upper body beside the motorcycle. His hand rests on the handlebar, showing the brown leather watch. His black jacket and white T-shirt are clearly visible as he looks towards the camera.
Scene 8, from 14–16.8 seconds, returns to the over-the-shoulder reference composition. The man looks left towards a winding forest road with a yellow-black curb, a distant car, and a far parked motorcycle. The camera slowly arcs and pulls back.
Scene 9, from 16.8–19 seconds, adds a new medium side shot. The man puts on his black round sunglasses with one hand and slowly turns towards the camera. His face remains sharp and consistent, with a calm and confident expression.
Scene 10, from 19–21.5 seconds, creates a dark, moody low-angle wide shot beneath dense trees. The stationary motorcycle has its bright headlight on, while the man sits on it as a dark silhouette. The camera slowly pushes closer, and his face becomes visible in the headlight glow.
Scene 11, from 21.5–23.3 seconds, adds a new medium-high angle camera movement. The camera rises and pulls back above the forest road, revealing the man standing beside the parked motorcycle with its headlight on. He looks upwards while fog drifts between the trees.
Scene 12, from 23.3–25 seconds, provides the final cinematic composition. Blurred orange-yellow leaves fill the foreground while the man stands beside the motorcycle in the middle distance. The camera slowly pushes forward until he is clearly visible.
Premium HDR Colour Grading and Cinema-Camera Look
The requested visual style includes true 8K detail, HDR10+ or Dolby Vision-style dynamic range, 10-bit colour, and a premium cinema-camera appearance.
The colour grading should feature deep but detailed blacks, controlled highlights, neutral misty grey-beige midtones, muted olive foliage, and warm amber lighting.
The wet road should reflect light naturally. Subtle bloom around the motorcycle headlight, shallow depth of field, and gentle film grain contribute to the cinematic finish.
Avoid teal colour casts, excessive green saturation, artificial-looking skin, and overly dark shadows.
These technical specifications describe the intended appearance. Actual 8K resolution, HDR format, and 10-bit colour depend on the selected generation platform and export capabilities.
The Importance of Character Visibility
One of the most important instructions is that the man must remain visible in every single shot.
The video should never show an empty landscape or a motorcycle-only composition. Even when the camera tilts towards the trees, road, or motorcycle, the character must remain inside the frame.
His face should be sharp whenever visible. Wide shots should preserve enough detail to identify him, while close-ups should clearly show his facial features.
This requirement helps maintain the character as the central subject instead of allowing the forest scenery to take over the video.
Final Thoughts
This 25-second Cinematic Forest Motorcycle AI Video Prompt combines a misty forest environment, premium adventure motorcycle styling, consistent character identity, and carefully planned camera movements.
Its 12-scene structure preserves seven reference scenes in their original order while adding five new shots to create a more detailed cinematic sequence.
The result is intended to look like a professionally filmed adventure motorcycle commercial, with a calm atmosphere, realistic movement, wet-road reflections, and beautiful forest cinematography.
Use the uploaded character sheet and reference video wherever supported, generate the scenes in the specified order, and carefully review character visibility, motorcycle consistency, and camera transitions before exporting.
Sabse Pehle Character Sheet Photo Banaai ChatGPT Se


How to Create a Cinematic Forest Motorcycle AI Video
Follow these steps to create a 25-second cinematic motorcycle video using your reference video and uploaded character sheet. The workflow focuses on preserving the original seven scenes and adding five new scenes in the specified positions.
Step 1: Prepare Your Reference Materials
First, select the original reference video and the character sheet containing the man's appearance.
Use a clear character reference showing his face, hairstyle, beard, skin tone, and body build.
The reference video should be available for visual guidance if your selected platform supports video references. The character sheet should be used for identity guidance wherever available.
Step 2: Choose the Video Generation Platform
Open your preferred AI video generation platform, such as Flow AI, if its available workflow supports your requirements.
Choose a suitable image-to-video, reference-to-video, or text-to-video workflow.
Select the intended 16:9 widescreen composition. The complete project is designed for approximately 25 seconds.
If the platform cannot generate the full duration in one pass, create individual scenes and combine them in a video editor.
Step 3: Lock the Character Appearance
Upload the character sheet and provide the same appearance instructions throughout the project.
The character must retain:
Identical face shape and facial features.
Same hairstyle, beard, and skin tone.
Same body build.
Same black collared zip-up work jacket.
Same white crew-neck T-shirt.
Same olive-brown chino pants.
Same white leather sneakers.
Same brown leather belt and watch.
Same black round sunglasses.
Keep the clean, even-toned cinema skin appearance consistent without making it look plastic.
Step 4: Establish the Forest Location
Describe the misty pine forest hill road with wet asphalt, fog, mossy tree trunks, and soft overcast lighting.
Use muted olive and grey foliage with neutral grey-beige midtones.
The road should have natural reflections, and the motorcycle headlight should produce a warm orange-amber glow.
Step 5: Match the Motorcycle
Use the olive-grey adventure motorcycle from the reference video.
Preserve its round headlight, mirrors, handlebar, black seat, and grey fuel tank.
The bike must remain parked on its side stand and should never be ridden or driven. In the scene where the man sits on it, keep the motorcycle stationary.
Step 6: Create Scene 1 – 0 to 3 Seconds
Generate a low-angle wide shot from road level.
The man leans casually against the parked motorcycle and looks upwards at the misty trees.
Keep the headlight glowing warmly. Add a slow rightward camera arc combined with a gentle push-in.
Step 7: Create Scene 2 – 3 to 5 Seconds
Generate the new side-profile close-up.
The man looks upwards at the trees while soft misty light illuminates his face.
Use a shallow depth of field, subtle falling water droplets, and a very slow push-in.
Step 8: Create Scene 3 – 5 to 7.3 Seconds
Generate the front-facing wide shot from a low camera height.
The man walks towards the camera with both hands in his pockets.
The camera moves backwards smoothly, keeping his face visible.
Step 9: Create Scene 4 – 7.3 to 9 Seconds
Start with a low ground-level tracking shot showing his white sneakers and chino hems walking on the wet road.
Include puddle reflections.
Then tilt the camera smoothly upwards to reveal his full body and clearly visible face.
Step 10: Create Scene 5 – 9 to 10.3 Seconds
Generate the upward handheld camera movement along mossy, ivy-covered tree trunks.
Keep the man in the left foreground in a medium shot. His face must remain visible and sharp during the movement.
Add thick mist, soft daylight, and slight natural camera shake.
Step 11: Create Scene 6 – 10.3 to 12 Seconds
Slowly tilt the camera down from the misty slope to reveal the parked motorcycle from behind.
Show the black seat, grey fuel tank, mirrors, and handlebar.
Position the man beside the motorcycle in a three-quarter view, with one hand resting on the tank.
Step 12: Create Scene 7 – 12 to 14 Seconds
Generate the new medium close-up beside the motorcycle.
Show the man's hand resting on the handlebar with the brown leather watch clearly visible.
Keep the jacket and white T-shirt visible. He looks towards the camera with a calm expression.
Add a slow rightward slider movement and shallow depth of field.
Step 13: Create Scene 8 – 14 to 16.8 Seconds
Generate the over-the-shoulder back view.
The man looks left towards the winding forest road, yellow-black curb, distant car, and far parked motorcycle.
The camera slowly arcs and pulls back while maintaining the man clearly inside the frame.
Step 14: Create Scene 9 – 16.8 to 19 Seconds
Generate the new medium side shot.
The man puts on his black round sunglasses using one hand, then slowly turns his face towards the camera.
Keep his face sharp, clean, and consistent with the reference. Add soft rim lighting and a slow push-in.
Step 15: Create Scene 10 – 19 to 21.5 Seconds
Create a dark, moody low-angle wide shot beneath dense trees.
The motorcycle remains stationary with its bright headlight glowing. The man sits on it as a silhouette.
Only the camera should move, slowly pushing closer. His face should become visible and sharp in the headlight glow.
Step 16: Create Scene 11 – 21.5 to 23.3 Seconds
Generate the new medium-high angle shot.
The camera slowly rises and pulls back above the forest road.
Show the man clearly standing next to the parked motorcycle with its headlight on. He looks upwards towards the camera while fog drifts between the trees.
Step 17: Create Scene 12 – 23.3 to 25 Seconds
Generate the final low-angle wide shot through blurred orange-yellow leaves in the foreground.
The man stands beside the motorcycle in the middle distance, fully visible between the misty trees.
The camera slowly pushes forward towards him to create a peaceful cinematic ending.
Step 18: Arrange the 12 Scenes
Combine all 12 generated scenes in the exact timeline order.
Preserve the seven reference scenes in their original positions: scenes 1, 3, 5, 6, 8, 10, and 12.
Place the five new scenes between them as specified.
Use smooth cinematic transitions without changing the character's appearance or the motorcycle's design.
Step 19: Apply the Colour Grade
Use muted olive-grey foliage, neutral misty midtones, warm amber headlight lighting, controlled highlights, and deep detailed blacks.
Add subtle film grain and gentle light bloom if suitable editing options are available.
Avoid teal tint and oversaturated green foliage.
Step 20: Add the Watermark
Place the small white text NoorEditing07 at the bottom centre of the frame.
Keep it subtle and consistent throughout the complete video without covering the character or motorcycle.
Step 21: Final Quality Check
Before exporting, verify that:
The man is visible in every scene.
His face, hairstyle, beard, and body build remain consistent.
The outfit never changes.
The motorcycle remains the same olive-grey model.
The bike stays stationary.
No extra characters appear.
The seven reference scenes retain their order and camera movements.
All five new scenes appear in the correct positions.
The wet road, fog, and forest lighting look natural.
The watermark remains at the bottom centre.
Finally, export using the highest suitable resolution, HDR, and frame-rate options actually supported by your platform. The prompt's 8K and HDR specifications describe the target look, not a guaranteed native output.
1. Pink BMW Cherry Blossom AI Video Prompt | Flow AI Cinematic Car Edit
Original URL: https://www.noorediting07.com/pink-bmw-cherry-blossom-ai-video-prompt
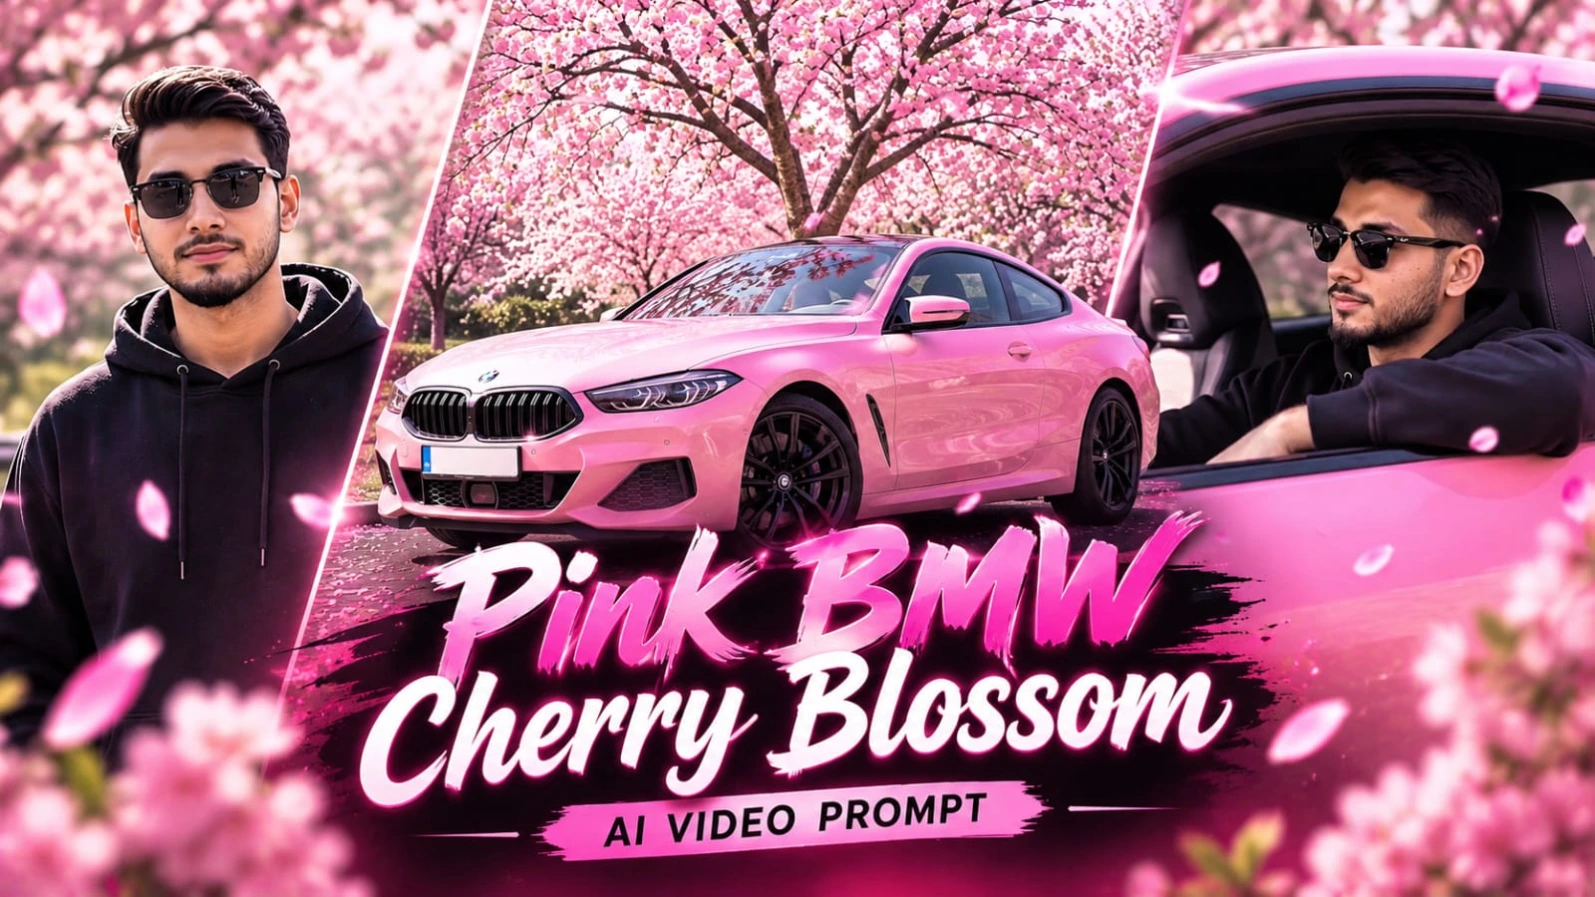
Pink BMW Cherry Blossom AI Video Prompt ki madad se aap ek beautiful luxury car cinematic video create kar sakte hain. Is concept mein ek glossy pink BMW sports car ko khoobsurat pink cherry blossom trees ke beech dikhaya gaya hai. Bright daylight, hawa mein udte pink flowers aur car ki shiny body video ko ek premium automotive commercial jaisa look dete hain.
Is video mein total 8 alag-alag cinematic scenes hain. Har scene mein camera angle aur car ka perspective badalta hai, jisse final video zyada professional aur interesting lagti hai. Ismein male character bhi dikhai deta hai, jo oversized black hoodie aur dark sunglasses pehenta hai. Agar aap apni photo use karte hain, to reference image ke through apne face aur appearance ko consistent rakhne ki koshish kar sakte hain.
Pink BMW Cherry Blossom AI Video Kaise Banaye
Step 1: Character Reference Photo Banaye
Sabse pehle ChatGPT ya kisi AI image generator ki madad se apni character reference sheet banayein. Ismein front view, side profile, back view aur close-up face hona chahiye. Outfit mein black pullover hoodie, dark sunglasses aur black trousers rakhein.
Step 2: AI Video Tool Open Karein
Ab Flow AI ya apne pasand ke AI video generator ko open karein. Reference photo upload karein aur har scene mein same character description use karein. Isse face aur outfit mein unwanted changes kam karne mein madad mil sakti hai.
Step 3: First Scene Generate Karein
Pehle scene mein pink BMW ke front headlight aur wet bonnet ka macro close-up banayein. Car ki glossy pink paint par water droplets aur natural reflections dikhne chahiye.
Step 4: BMW Hero Shot Banayein
Second scene mein complete pink BMW ko ek bade blooming cherry blossom tree ke neeche park dikhayein. Camera front three-quarter angle par ho, jisse car ka front aur side dono clearly nazar aayein.
Step 5: Driving Interior Scenes Banayein
Third scene mein driver POV rakhein, jahan steering wheel par hands aur rearview mirror mein driver ka reflection dikhe. Fourth scene mein black hoodie aur sunglasses pehne character ko car drive karte hue side interior angle se dikhayein.
Step 6: Character Portrait Scenes Banayein
Fifth scene mein character ko open driver window se arm bahar rakhkar baitha dikhayein. Sixth scene mein use pink BMW ke paas khade hokar camera ki taraf dekhte hue dikhayein. Background mein cherry blossom petals girte rehne chahiye.
Step 7: Final Car Shots Banayein
Seventh scene mein road par pink flowers ke beech BMW ka rear three-quarter low-angle shot banayein. Eighth scene mein cherry blossom canopy ke neeche front low-angle tracking shot rakhein.
Step 8: Final Editing Karein
Ab sabhi 8 scenes ko correct order mein arrange karein. Bright daylight aur pastel pink colour grading maintain karein. Bottom corner mein NoorEditing07 watermark add karein. Export se pehle car design, face aur outfit ki consistency check karein. 8K aur 120fps actual output aapke AI tool ki supported settings par depend karega.
2. Kashmir Meadows AI Video Prompt 8K 120FPS | Flow AI Tutorial
Original URL: https://www.noorediting07.com/kashmir-meadows-ai-video-prompt-8k-120fps-flow-ai-tutorial
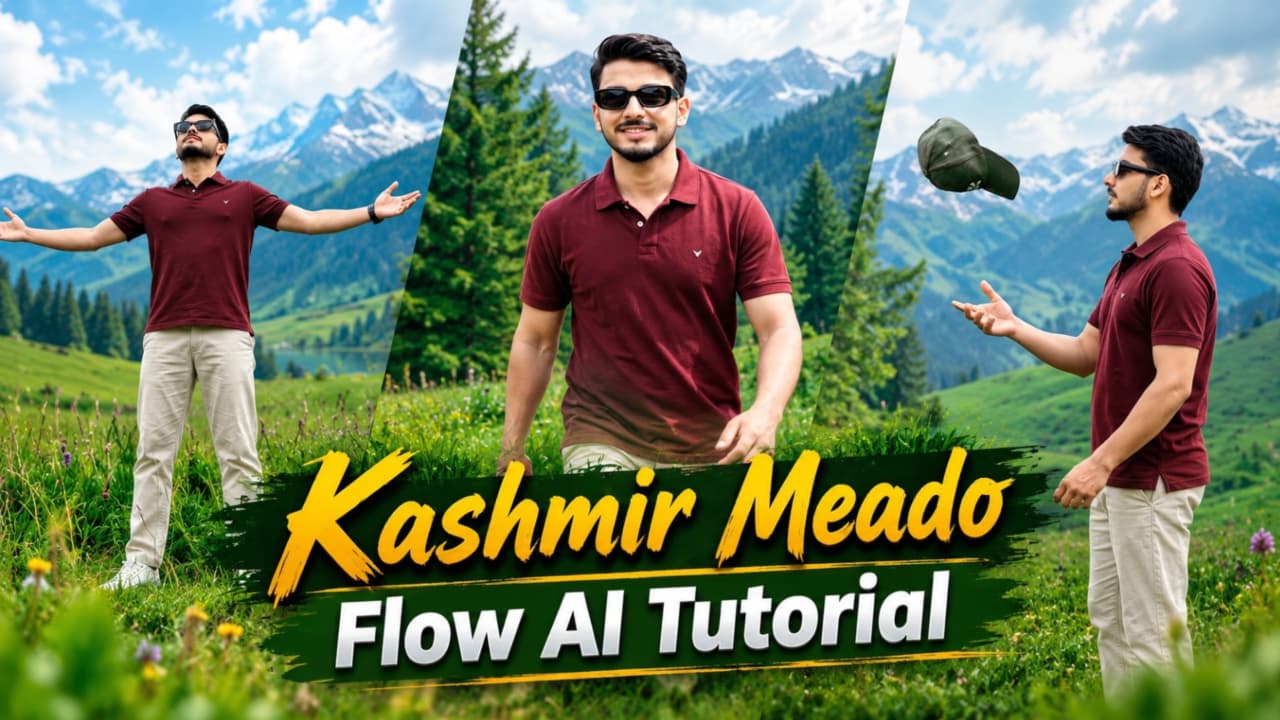
Kashmir Meadows AI Video Prompt un creators ke liye ek achha concept hai jo green mountains, beautiful valleys aur natural travel scenes ke saath cinematic video banana chahte hain. Ismein Kashmir ke lush green meadows, rolling hills, tall pine forests, purple wildflowers aur camping scenery ko dikhaya gaya hai.
Is video ka main character ek young man hai, jo maroon half-sleeve polo T-shirt, beige trousers, white sneakers aur black rectangular sunglasses pehenta hai. Video mein total 7 alag-alag scenes hain. Har scene mein character ka pose aur camera angle badalta hai, lekin overall location aur outfit consistent rakhe jaate hain.
Aap Flow AI mein reference photo ka use karke is tarah ka travel-style video create kar sakte hain. Iska vertical 9:16 format Instagram Reels, YouTube Shorts aur doosre short-video platforms ke liye useful hai.
Kashmir Meadows AI Video Kaise Banaye
Step 1: Character Photo Select Karein
Sabse pehle apni ek clear reference photo select karein. Photo mein face, hairstyle aur facial features clearly visible hone chahiye. Isi image ko har scene ke liye reference ke roop mein use karein, agar aapka AI tool is feature ko support karta hai.
Step 2: Character Outfit Set Karein
Character ka outfit maroon half-sleeve polo T-shirt hona chahiye, jiske chest par small white logo ho. Saath mein light beige straight trousers, white low-top sneakers aur black rectangular sunglasses rakhein. Har scene mein outfit same rehna chahiye.
Step 3: First Meadow Scene Banayein
Pehle scene mein character ko green meadow ke downhill raste par walk karte hue dikhayein. Background mein tall pine forest hona chahiye. Camera medium tracking shot mein character ke saath smoothly move kare.
Step 4: Cap Toss Scene Banayein
Second scene mein rolling green hills ke beech character ko side profile mein dikhayein. Woh casually apni cap ko hawa mein toss karke catch karta hai. Hand movement aur cap ki direction natural honi chahiye.
Step 5: Purple Flowers Scene Banayein
Third scene mein character ko purple wildflowers se bhare grass area mein walk karte hue dikhayein. Camera medium close-up tracking shot rakhein, jisse face aur outfit clearly visible rahein.
Step 6: Camping Tent Scene Banayein
Fourth scene mein ek blue camping tent ko green hillside par rakhein. Character tent ke paas se downhill walk karta hua nazar aaye. Camera full-body tracking shot mein ho.
Step 7: Open Arms Aur Sitting Scenes Banayein
Fifth scene mein tall grass ke beech character dono arms open karke sky ki taraf dekhe. Sixth scene mein use grassy slope par baithkar tall pine trees ki taraf dekhte hue dikhayein.
Step 8: Final Wide Landscape Shot Banayein
Seventh scene mein character green hill par baitha ho aur saamne pine trees aur green roofs wale cottages dikhai dein. Wide framing rakhein, jisse beautiful landscape clearly nazar aaye.
Step 9: Final Video Edit Karein
Sabhi 7 clips ko correct order mein arrange karein. Green colour grading natural rakhein aur skin tone ko over-saturate na karein. Bottom corner mein NoorEditing07 watermark add karein. 8K aur 120fps target actual output AI generator aur export settings par depend karega.
3. Couple College Campus AI Video Prompt | Cinematic Romantic Video
Original URL: https://www.noorediting07.com/couple-college-campus-ai-video-prompt-cinematic-video
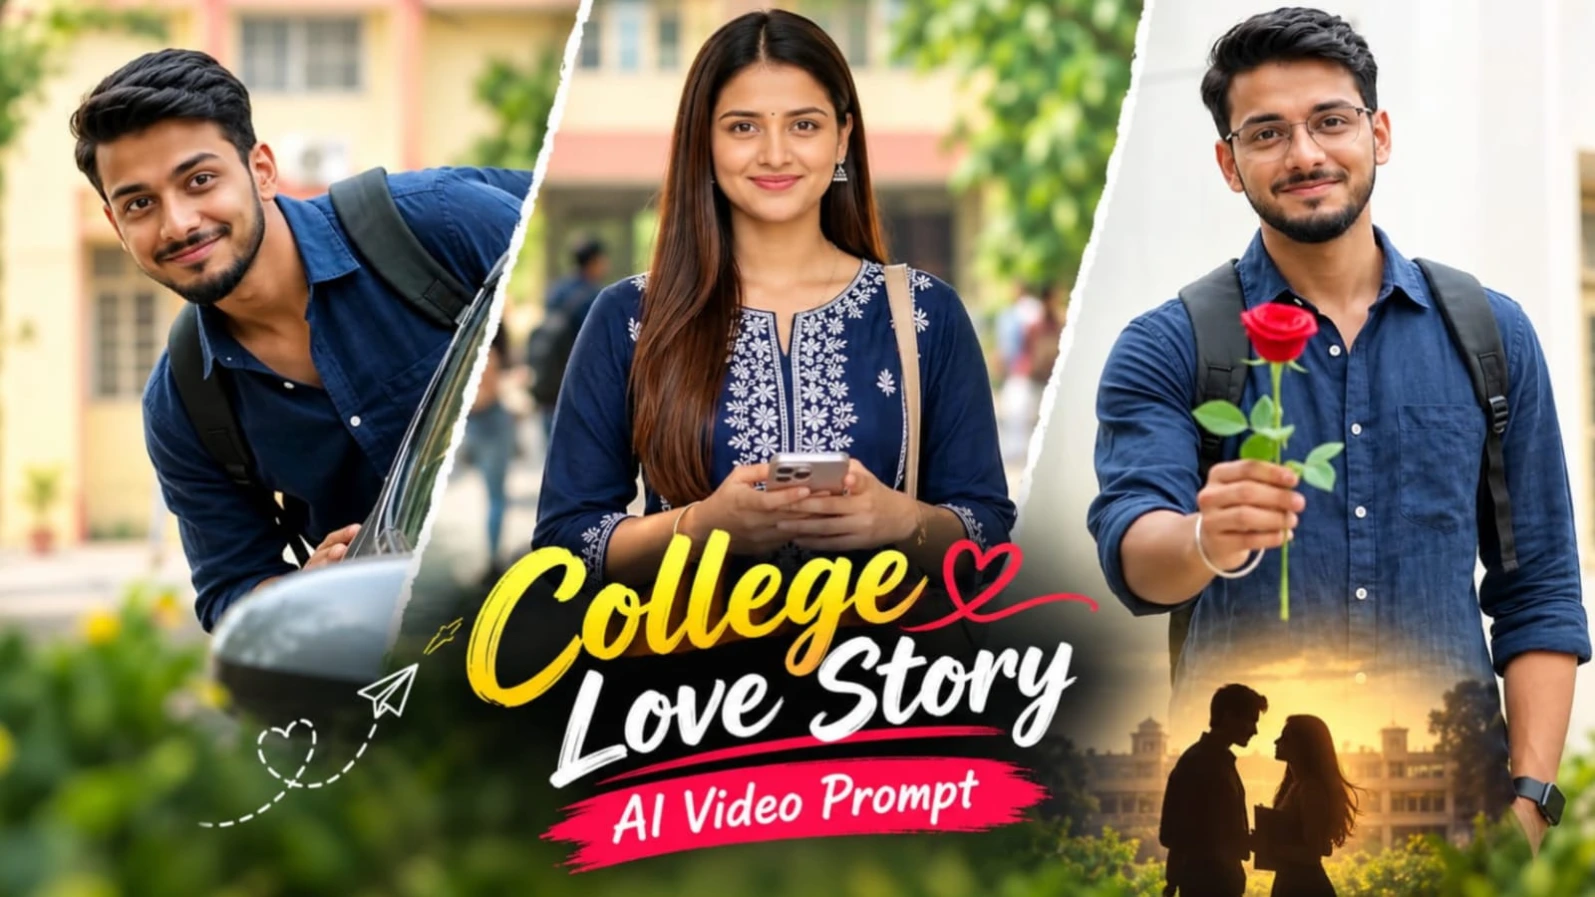
Couple College Campus AI Video Prompt ki madad se aap ek beautiful romantic college story create kar sakte hain. Is concept mein ek young boy aur girl ko green college campus mein alag-alag moments ke saath dikhaya gaya hai. White college buildings, green trees, parked cars, motorcycle aur natural daylight video ko realistic campus atmosphere dete hain.
Is video ka main attraction couple ke natural expressions aur playful moments hain. Girl walking karte hue camera ki taraf dekhti hai, boy motorcycle par baithkar smile karta hai aur kuch scenes mein car ke peeche se camera ki taraf dekhta hai. Last scene mein boy camera ki taraf red rose badhata hai.
Is concept mein total 10 shots hain, jinhe simple hard cuts ke saath 17-second landscape video mein arrange kiya gaya hai. Dono characters ki reference photos alag-alag upload karna important hai, taaki unki appearance ko consistent rakhne mein madad mile.
Couple College Campus AI Video Kaise Banaye
Step 1: Dono Characters Ki Reference Photo Banayein
Sabse pehle boy aur girl ki clear reference photos select karein. Dono ke face, hairstyle aur skin tone clearly visible hone chahiye. AI tool mein male aur female reference ko alag-alag guide ke roop mein use karein.
Step 2: Male Character Ka Outfit Set Karein
Boy ko navy blue linen button-up shirt pehnayein, jisme white buttons aur chest pocket ho. Sleeves forearms tak rolled hon. Saath mein off-white wide-leg trousers, white chunky sneakers aur black wristwatch rakhein. Selected scenes mein black backpack aur motorcycle scene mein black sunglasses bhi hon.
Step 3: Female Character Ka Outfit Set Karein
Girl ke liye navy blue straight kurta, three-quarter sleeves aur white chikankari embroidery rakhein. Matching navy palazzo, white embroidery wala long dupatta, beige shoulder bag, white sneakers aur thin silver bracelet include karein.
Step 4: College Campus Background Banayein
Background mein green college campus, white multi-storey buildings, square-patterned windows, parked cars, yellow-painted building, folding metal shutter gate aur green trees rakhein. Sabhi scenes mein similar campus environment maintain karein.
Step 5: First Four Shots Generate Karein
First shot mein girl white building ke saamne walk karte hue shoulder ke upar se camera ki taraf dekhe. Second shot mein boy parked motorcycle par baithkar smile kare. Third shot mein girl yellow building ke paas phone pakadkar walk kare. Fourth shot mein boy grey car ke peeche se playful smile ke saath bahar dekhe.
Step 6: Next Four Shots Banayein
Fifth shot mein girl phone se nazar uthakar camera ki taraf smile kare. Sixth shot mein boy grey car ke peeche se backpack ke saath smile kare. Seventh shot mein girl folding metal shutter gate ke paas khadi hokar phone aur bag pakde. Eighth shot mein boy white building ke saamne backpack straps pakadkar smile kare.
Step 7: Last Two Shots Generate Karein
Ninth shot mein girl ka close-up portrait banayein, jahan woh shy smile ke saath camera ki taraf dekhe. Tenth aur final shot mein boy white building ke saamne khada hokar camera ki taraf red rose badhaye.
Step 8: Final Video Editing Karein
Ab sabhi 10 shots ko 17-second timeline mein simple hard cuts ke saath arrange karein. Bright daylight, natural skin tones aur soft background depth maintain karein. Video silent rakhein; music ya sound aap editing ke dauran alag se add kar sakte hain. Final video mein NoorEditing07 watermark lagayein.
4. Happy Diwali AI Photo Prompt 8K | Create a Festive Portrait
Original URL: https://www.noorediting07.com/happy-diwali-ai-photo-prompt-8k-create-a-festive-portrait
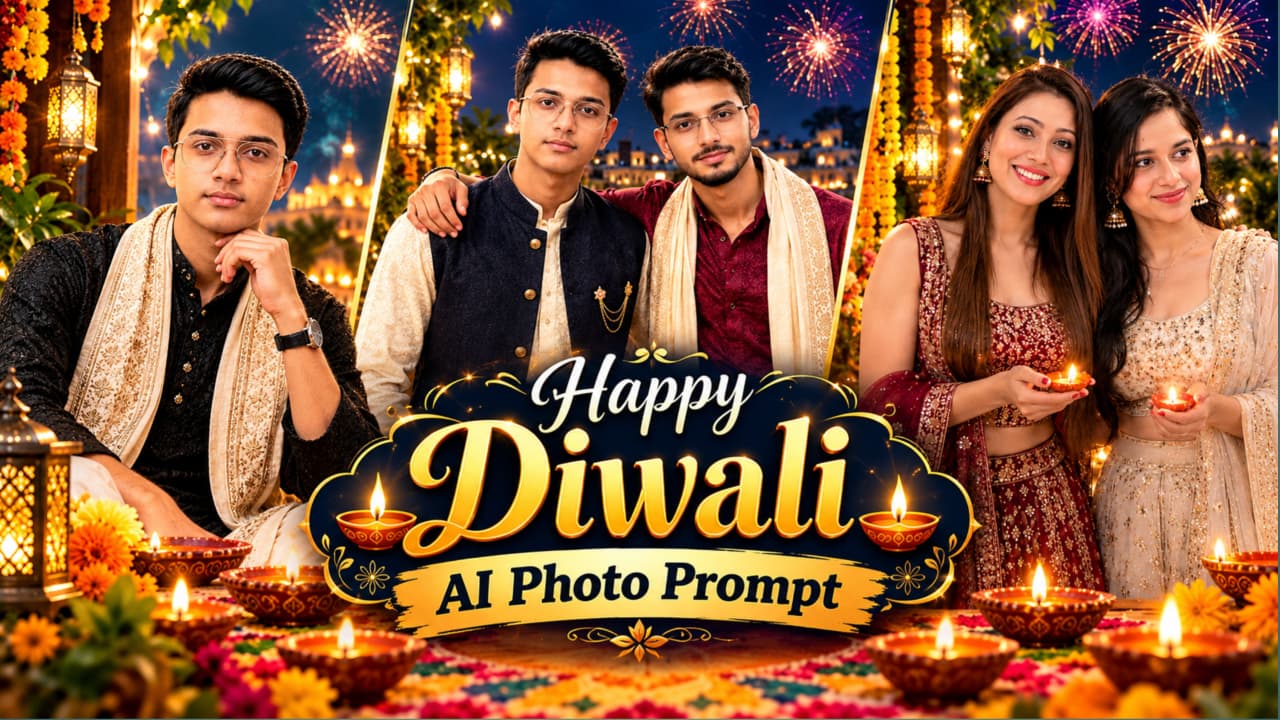
Happy Diwali AI Photo Prompt ki madad se aap ek beautiful aur realistic Diwali greeting poster create kar sakte hain. Is concept mein traditional Indian festive decorations, glowing diyas, marigold flowers, golden lanterns aur colourful fireworks ka combination diya gaya hai. Background mein Indian palace terrace aur river ghat se inspired festive environment rakha gaya hai.
Is photo concept ka main focus traditional outfit, natural face details aur golden Happy Diwali typography hai. Aap apni reference photo upload karke apne face ke saath personalised festive portrait bana sakte hain. Ismein friends, couple ya single-person portrait jaise alag compositions bhi use kiye ja sakte hain.
Main poster concept mein do young Indian women ko close friends ke roop mein shoulder-to-shoulder khade dikhaya gaya hai. Dono festive designer lehengas pehenti hain aur apne haathon mein glowing clay diyas pakadti hain. Upper-right side par golden Happy Diwali calligraphy rakhi jaati hai.
Happy Diwali AI Photo Kaise Banaye
Step 1: Reference Photos Upload Karein
Sabse pehle dono characters ki clear reference photos select karein. Agar aap apni aur apne friend ki photo use kar rahe hain, to dono faces alag-alag upload karein. AI image generator mein reference image feature available ho to use enable karein.
Step 2: Image Ratio Select Karein
Image generator mein 4:5 vertical aspect ratio select karein. Camera angle eye-level aur straight-on medium-long shot rakhein. Dono characters ko frame ke centre aur lower half mein place karein, jisse upper-right area greeting text ke liye available rahe.
Step 3: Traditional Outfit Describe Karein
Main concept mein left character ke liye maroon wine-red designer lehenga aur right character ke liye champagne cream lehenga rakhein. Dono ke outfits mein realistic embroidery, fabric texture aur natural folds describe karein.
Step 4: Dono Characters Ki Pose Set Karein
Dono friends ko shoulder-to-shoulder khada rakhein. Left character camera ki taraf happy smile kare aur dono haathon se waist level par ek lit clay diya pakde. Right character apna head halka sa friend ki taraf tilt kare, ek haath friend ke shoulder par rakhe aur doosre haath mein diya pakde.
Step 5: Festive Background Banayein
Background mein Indian palace terrace at night rakhein. Left side par orange aur yellow marigold garlands, golden lantern, carved wooden pillar aur fairy lights add karein. Backside mein deep navy-blue sky aur illuminated palace with domes dikhayein.
Step 6: Diyas Aur Decorations Add Karein
Foreground mein glowing diyas, flower rangoli, brass lanterns aur colourful flowers rakhein. Right side mein green plants aur decorative flowers include karein. Background mein colourful fireworks bhi dikhayein.
Step 7: Happy Diwali Text Add Karein
Upper-right side mein golden 3D calligraphy style mein “Happy Diwali” likhein. Text ka spelling bilkul correct rakhein. Agar AI text galat generate kare, to final image mein kisi photo editor ki madad se correct text add karein.
Step 8: Lighting Aur Final Quality Check Karein
Warm golden diya light, orange festive tones aur deep midnight-blue background maintain karein. Face, hands, outfit embroidery aur diya flames ko zoom karke check karein. Bottom corner mein NoorEditing07 watermark add karein. 8K quality actual image generator aur export resolution par depend karegi.
5. Village Cricket Cinematic Video Edit | Flow AI Prompt
Original URL: https://www.noorediting07.com/village-cricket-cinematic-video-edit-flow-ai-prompt
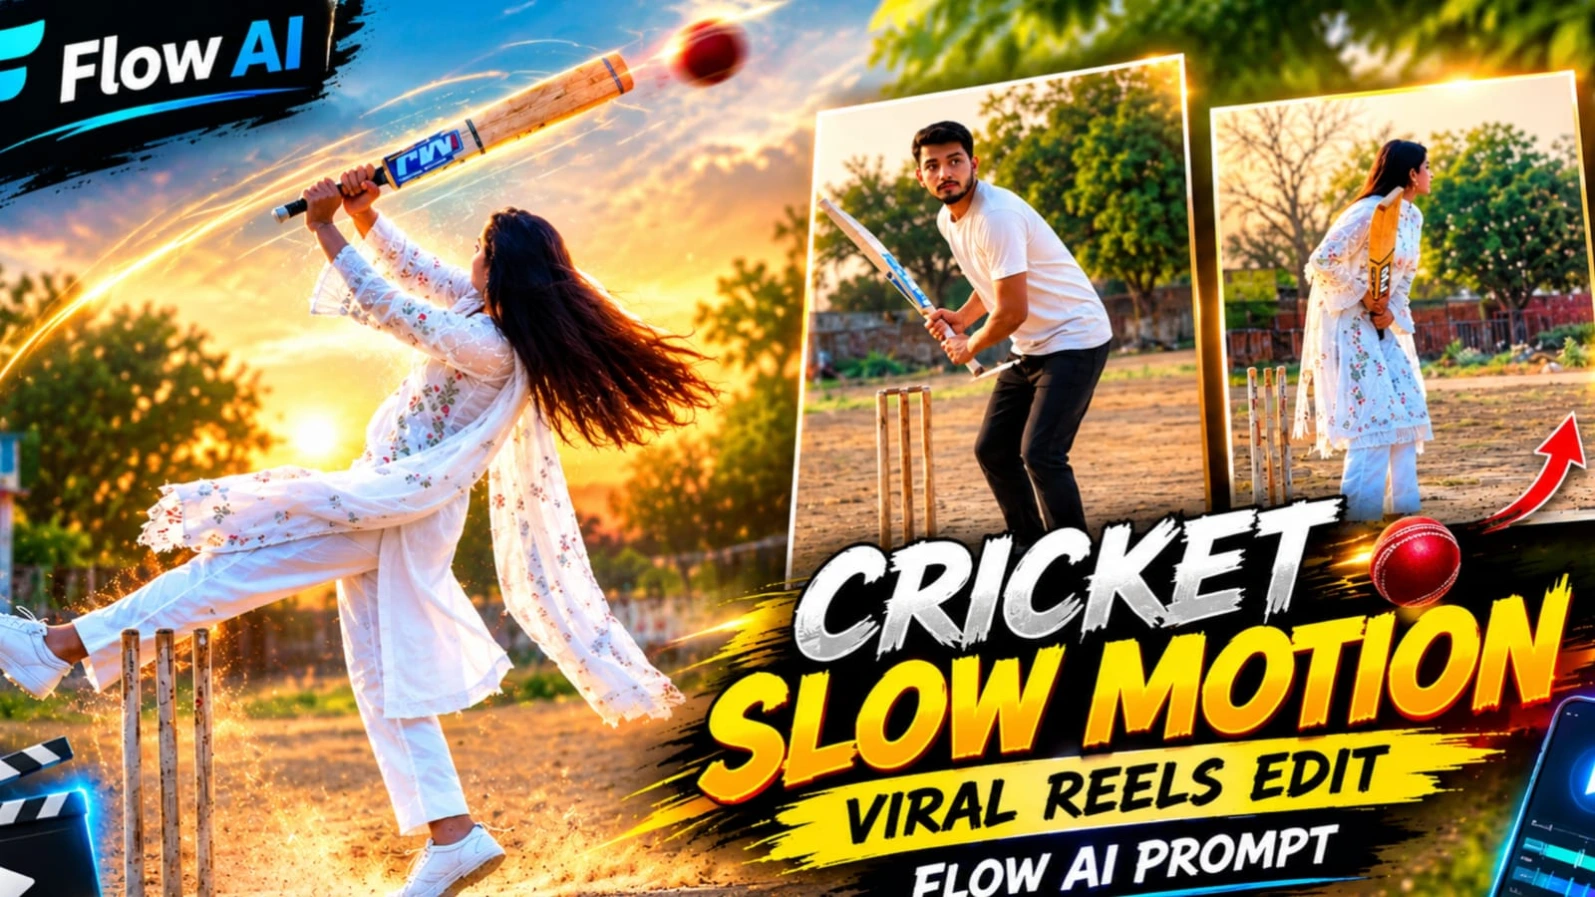
Village Cricket Cinematic Video Prompt ek unique AI video concept hai, jisme traditional white outfit pehni hui ek woman ko village cricket ground par cricket bat ke saath dikhaya gaya hai. Ismein dusty ground, wooden stumps, concrete playing strip, trees aur golden-hour sunlight ka natural combination hai.
Is video ka main attraction character ke cricket-inspired movements aur dramatic slow-motion shots hain. Character white chikankari kurta, white straight pants, long sheer white dupatta aur white sneakers pehenti hai. Uske haath mein blue-and-white sticker wala light-wood cricket bat hota hai.
Video ka target duration 11.5 seconds hai aur iska format vertical 9:16 rakha gaya hai. Camera tripod par fixed rehta hai, jisse poori action sequence ek hi position se record hoti hui feel deti hai.
Village Cricket Cinematic Video Kaise Banaye
Step 1: Character Reference Photo Upload Karein
Sabse pehle apni ek clear reference photo upload karein. Face, hairstyle, skin tone aur body appearance ko reference ke according maintain karne ki instruction dein. Agar AI tool reference image support karta hai, to use enable karein.
Step 2: Outfit Aur Cricket Bat Set Karein
Character ko white chikankari embroidered knee-length kurta pehnayein, jisme three-quarter sleeves hon. Saath mein white straight pants, long sheer white dupatta aur white sneakers rakhein. Hair long, straight aur black hona chahiye. Haath mein blue-and-white sticker wala light-wood cricket bat ho.
Step 3: Village Cricket Ground Create Karein
Background mein dusty village cricket ground rakhein. Ground par brown sandy soil aur grey concrete strip ho. Frame ke left side mein three wooden stumps rakhein. Background mein ek small blue-and-white building, ek bare tree aur green trees include karein.
Step 4: Camera Position Set Karein
Camera ko tripod par slightly low wide full-body position mein rakhein. Character head se feet tak clearly visible honi chahiye. Camera ko static rakhein; ismein pan, zoom ya unnecessary movement nahi hona chahiye.
Step 5: Opening Cricket Action Generate Karein
0 se 2.3 seconds ke beech character stumps ke paas side-on position mein khadi ho. Woh cricket bat ko upright raise kare aur phir use hip ke paas lower kare.
Step 6: Bat Lift Aur Ground Tap Scene Banayein
2.3 se 3.8 seconds ke beech character bat ko shoulder ke peeche high back-lift position mein le jaye. Phir forward bend karke bat ko neeche laaye. 3.8 se 4.8 seconds ke beech bat blade ko ground par tap kare.
Step 7: Jump Aur Slow Motion Action Add Karein
4.8 se 5.6 seconds ke beech character crouch karke jump kare aur bat ko upright position mein rakhe. Lagbhag 5.3 seconds se 10.2 seconds tak slow motion rakhein. Is section mein character turn kare, bat raise kare aur dupatta aur hair natural movement ke saath flow karein.
Step 8: Final Walking Shot Banayein
10.2 seconds par hard cut rakhein. Character bat ko neeche kare, right side ki taraf step le, profile mein turn ho aur camera se door walk kare. Final segment 11.5 seconds tak chale.
Step 9: Final Video Export Karein
Video ko vertical 9:16 format mein export karein. Warm golden-hour lighting, realistic skin texture aur natural fabric movement maintain karein. Video silent rakhein, koi extra music ya speech add na karein. Bottom centre mein small white NoorEditing07 watermark lagayein. Export se pehle face, hands, bat aur body movements carefully check karein.