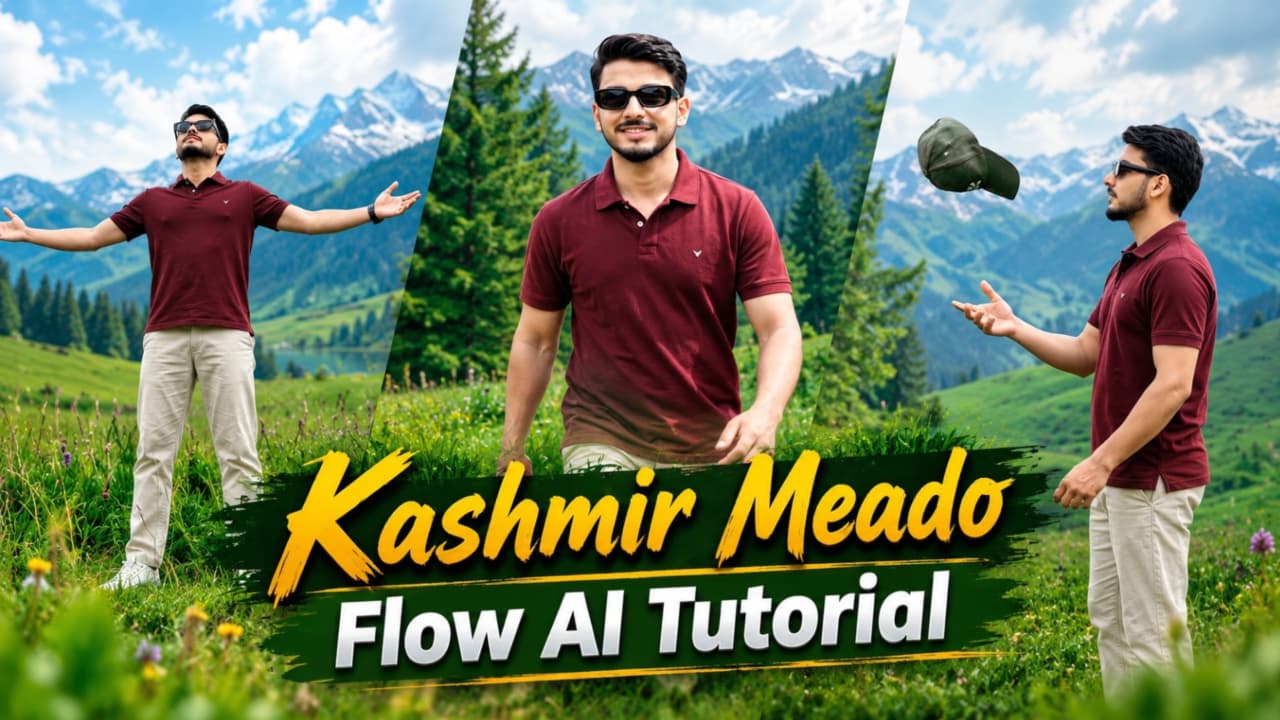
Kashmir Meadows AI Video Prompt 8K 120FPS | Flow AI Tutorial
Kashmir Meadows AI Video Prompt: Create a Cinematic Travel Video with Flow AI
Kashmir is known for its lush green meadows, beautiful rolling hills, tall pine forests, and peaceful mountain scenery. These natural landscapes provide the perfect inspiration for creating cinematic travel videos with artificial intelligence. With a carefully planned AI video workflow, creators can develop a visually appealing Kashmir-inspired sequence featuring a consistent character, stylish casual clothing, smooth walking shots, and beautiful outdoor backgrounds.
The Kashmir Meadows AI Video Prompt is designed for creators who want to produce a vertical cinematic video with a natural travel aesthetic. It combines bright daylight, vibrant green landscapes, wildflowers, pine trees, camping scenery, and relaxed outdoor poses. The overall look is inspired by professional DSLR travel photography, making it suitable for short-form videos, social media reels, travel edits, and AI filmmaking experiments.
The video concept follows a man walking through beautiful green meadows and enjoying the peaceful atmosphere of the mountains. Instead of relying on a single static scene, the sequence uses seven different visual moments. Each scene introduces a new camera angle or landscape detail, helping the finished video feel more dynamic and cinematic.
Character Consistency and Face Lock
One of the most important elements of this concept is maintaining the same character throughout the entire video. When using a reference photograph, creators should aim to preserve the person's facial structure, eyes, beard, skin tone, and overall appearance across every scene. Consistency helps the final result look like one continuous travel experience rather than several unrelated AI-generated clips.
If your chosen Flow AI workflow supports reference-image guidance, use the same clear reference photograph for each scene. Keep the character description consistent and avoid introducing unnecessary changes to the face, hairstyle, or facial hair. Good lighting and a clearly visible face can also help the result look more natural. However, AI generation may still introduce small differences between clips, so review each output before combining the scenes.
A Stylish Casual Outfit
The outfit gives the video a simple and recognizable visual identity. The character wears a maroon half-sleeve polo T-shirt with a small white chest logo, light beige straight trousers, white minimal low-top sneakers, and black rectangular sunglasses. The maroon shirt creates a strong contrast against the vivid green meadows, while the beige trousers and white sneakers complement the bright outdoor environment.
Keeping the clothing consistent across all seven scenes is important. If the shirt changes color or the trousers become a different style between shots, the final sequence may feel less cohesive. Repeat the same outfit details in each scene description and inspect the generated clips for unwanted clothing changes.
Seven Scenic Moments in Kashmir
The opening scene features a medium tracking shot of the character walking downhill through a lush green meadow, with a pine forest in the background. This establishes the location and introduces the character's travel style. The camera movement should feel smooth and natural, while the landscape provides depth behind the subject.
The second scene moves to rolling green hills. The character is shown in a medium profile shot while casually tossing and catching a cap. This small action adds movement and personality to the sequence. The cap should follow a believable trajectory, and the hand movement should remain natural. If the action looks awkward, generating a simpler version may produce a more convincing result.
The third scene features a medium close-up tracking walk across grass dotted with wild purple flowers. This shot brings the viewer closer to the character and allows the face and outfit to remain clearly visible. Purple flowers introduce a contrasting color that adds visual interest without distracting from the main subject.
In the fourth scene, a full-body tracking shot follows the character walking downhill past a blue camping tent pitched on the slope. The tent adds a travel and adventure atmosphere, suggesting a peaceful mountain camping trip. The camera should keep the character visible while allowing the tent and surrounding meadow to establish the environment.
The fifth scene uses a medium-wide, low-angle composition in tall wild grass. The character spreads both arms wide toward an overcast sky, creating a feeling of freedom and connection with nature. This is a strong visual moment for a music edit or a cinematic transition. The pose should look relaxed rather than exaggerated.
The sixth scene slows the pace with a side-view composition of the character sitting comfortably on a steep grassy slope and gazing toward tall pine trees. This quieter moment provides a visual break after the walking scenes. Natural body posture, believable contact with the ground, and a clearly defined slope can help the composition feel more realistic.
The final scene presents a wide view of the character sitting on a green hill, looking down toward tall pine trees and cottages with green roofs. The wider framing emphasizes the landscape and provides a peaceful ending. It can work well as the final shot before the video fades out or transitions into a title card.
Cinematic Lighting and Color Grading
Bright daylight is central to the visual style. The concept calls for vivid greens, open shadows, clear facial lighting, and crisp outdoor details. A balanced color grade can help the grass look fresh while retaining natural skin tones. Excessive saturation may make the scenery look artificial, so the goal should be vibrant but believable colors.
The overcast sky in the fifth scene adds variety to the lighting. Rather than forcing every shot to have identical sunlight, allow the scene lighting to follow the intended atmosphere while keeping the character recognizable. The final edit can use consistent white balance and moderate contrast to make the separate clips feel connected.
Understanding the 8K and 120FPS Look
The requested 8K resolution and 120 frames per second describe the intended visual style and motion aesthetic. Actual output quality depends on the video generation tool, its available settings, and the resolution of the source material. If native 8K or 120fps output is unavailable, generate the highest suitable quality offered by the tool and use compatible editing software for any supported upscaling or frame interpolation.
High-frame-rate footage can create exceptionally smooth slow-motion effects when recorded or generated with suitable motion detail. However, simply entering a frame-rate value in a prompt does not guarantee that the generated file will have that native frame rate. Check the exported file's actual resolution and frame rate before publishing.
Why the Vertical 9:16 Format Works
A vertical 9:16 composition is ideal for mobile-first content, including YouTube Shorts, Instagram Reels, and other vertical video platforms. The character can remain the focal point while the tall framing captures the slopes, pine trees, flowers, and mountain atmosphere. Leave enough space around the subject to prevent the head, shoes, or important scenery from being cropped.
When generating each scene, specify vertical framing and check the subject's position. Medium shots should show enough of the background to establish the location, while full-body and wide shots should preserve the landscape. Avoid placing important visual details too close to the frame edges.
Adding the NoorEditing07 Watermark
The concept includes a permanent static watermark reading NoorEditing07 in a bottom corner. A reliable approach is to add the watermark during final editing, after the video clips have been generated. This makes it easier to keep the text legible, consistent in size, and positioned in exactly the same place across every scene.
AI video generators may distort text or change its appearance between frames. Adding the watermark during editing can help avoid that problem. Keep it visible but unobtrusive, and leave a small margin from the bottom and side edges so that platform interface elements do not cover it.
Final Thoughts
This Kashmir Meadows AI Video Prompt combines scenic landscapes, a consistent character, a coordinated casual outfit, and seven distinct camera setups into one travel-inspired video concept. Its strength comes from the variety of shots: downhill walking, a playful cap action, close-up movement through purple flowers, a camping tent, an open-arm pose, a peaceful seated moment, and a wide landscape finale.
For the best result, generate and review the scenes individually, preserve the same character and outfit details, and assemble the clips in the intended order. Use natural transitions, balanced color grading, and an appropriately placed NoorEditing07 watermark. With careful planning and realistic expectations about the available generation settings, creators can develop a polished vertical AI travel video inspired by the green meadows and pine forests of Kashmir.
Sabse Pehle Character Sheet Photo Banaai ChatGPT Se
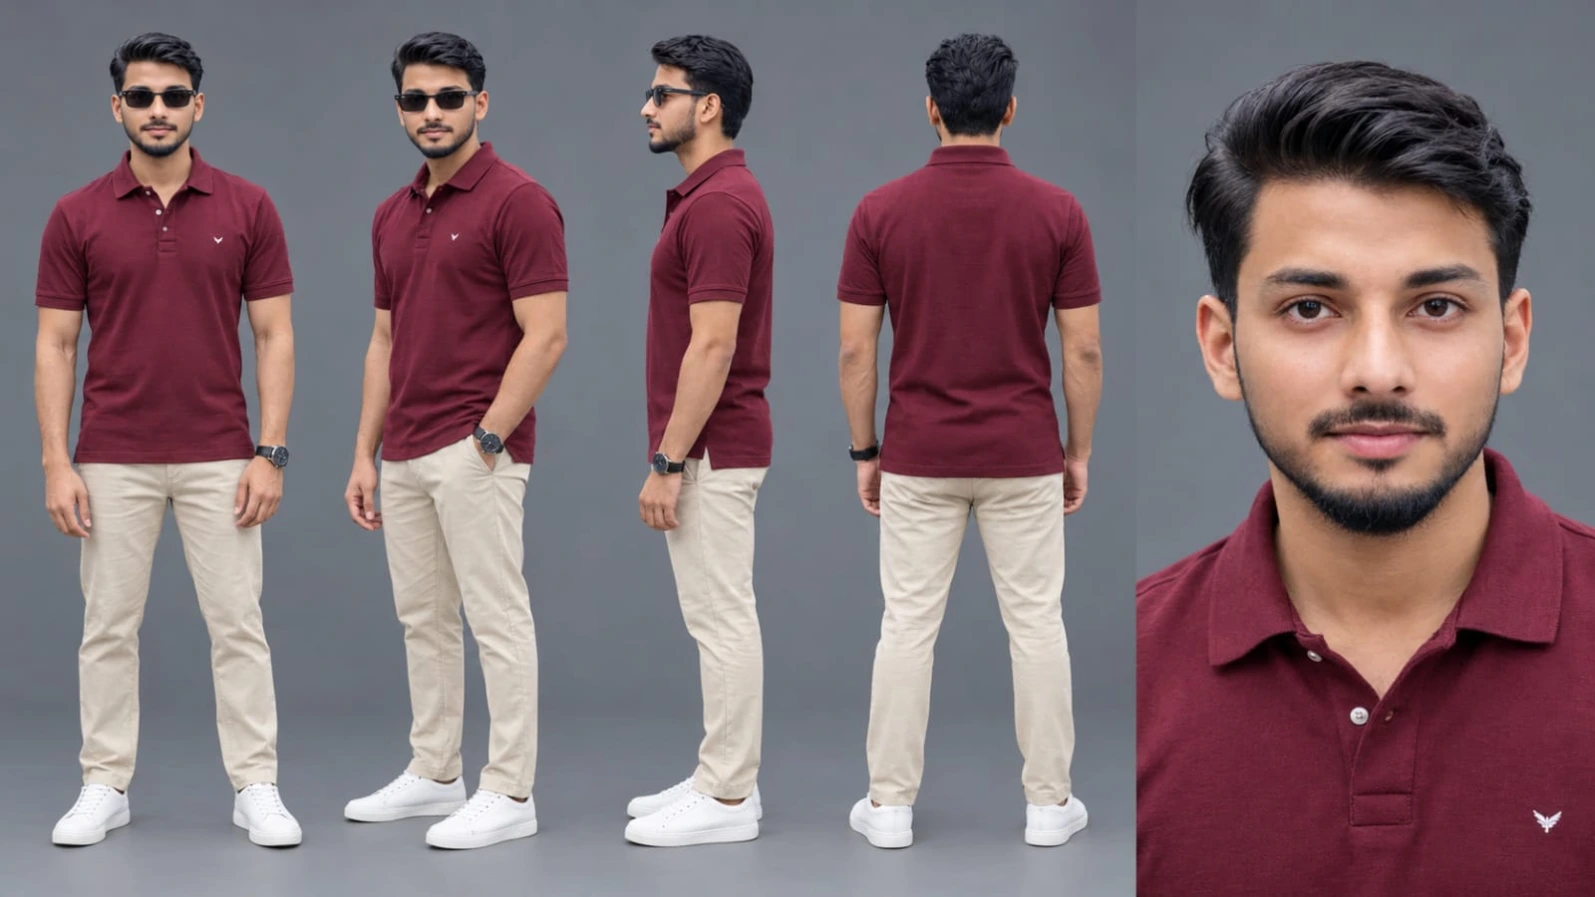


How to Create a Kashmir Meadows AI Video Using Flow AI
Is tutorial mein aap seekhenge ki Flow AI ki madad se Kashmir ke green meadows, pine forests, purple flowers aur camping scenery par based cinematic vertical video kaise plan aur create kar sakte hain. Is video ka main focus same character, consistent outfit, natural movement aur beautiful outdoor visuals par rahega.
Step 1: Reference Photo Select Karein
Sabse pehle apne character ki ek clear, high-quality reference photo select karein. Photo mein face, eyes, beard aur skin tone achhe se visible hone chahiye. Agar aapke Flow AI workflow mein reference image upload karne ka option available hai, to uska use karein.
Reference photo ka purpose har scene mein character ki appearance ko consistent rakhna hai. Dhyan rakhein ki AI-generated scenes mein exact face consistency ki guarantee nahi hoti, isliye har clip ko generate karne ke baad carefully check karein.
Step 2: Outfit Details Fix Karein
Video ke character ka outfit pehle se decide rakhein. Is concept mein maroon half-sleeve polo T-shirt with small white chest logo, light beige straight trousers, white minimal low-top sneakers aur black rectangular sunglasses use honge.
Har scene ke prompt mein outfit details repeat karein. Isse clothing ka color, style aur overall appearance consistent rakhne mein madad mil sakti hai. Agar kisi clip mein shirt ka color ya trousers ka style badal jaye, to us clip ko regenerate karein ya available editing tools se correction karne ki koshish karein.
Step 3: Vertical Video Format Set Karein
Flow AI mein available video settings check karein. Agar aspect ratio select karne ka option hai, to 9:16 vertical format choose karein. Is format ka use mobile-screen videos, Shorts aur Reels ke liye kiya ja sakta hai.
Character ko frame ke andar clearly visible rakhein. Full-body shots mein head se sneakers tak poora body frame mein aana chahiye, jabki close-up shots mein face aur upper body par focus rakhein.
Step 4: First Meadow Walking Scene Banayein
Pehla scene lush green meadow mein downhill walking shot se start karein. Background mein tall pine forest ho aur character black rectangular sunglasses pehne hue naturally walk kare.
Prompt mein medium tracking shot, bright daylight, vivid green grass aur smooth camera movement ka mention karein. Character ki walking speed natural rakhein. Generated clip mein feet, legs aur body movement check karein, kyunki kabhi-kabhi AI walking motion mein unwanted distortions aa sakte hain.
Step 5: Cap Toss Scene Create Karein
Doosre scene mein rolling green hills ke beech character ka medium profile shot banayein. Character casually cap ko hawa mein toss karta hai aur phir catch karta hai.
Action ko simple aur clearly defined rakhein. Agar cap ka movement unnatural ho ya character ke hands distort ho rahe hon, to action ko dobara generate karein. Zarurat padne par cap toss aur catch ko alag clips mein generate karke editing mein combine karein, agar aapke tools is workflow ko support karte hain.
Step 6: Purple Flowers Wala Close-Up Banayein
Teesre scene mein character grass aur wild purple flowers ke beech walk karta hai. Medium close-up tracking composition rakhein, jisme character ka face clear ho aur background mein flowers naturally visible hon.
Prompt mein forward gaze, consistent facial appearance, natural daylight aur smooth tracking movement include karein. Flowers ko frame mein itna rakhein ki woh scenery ko enhance karein, lekin character ke face ko cover na karein.
Step 7: Blue Camping Tent Scene Banayein
Chauthe scene mein full-body tracking shot use karein. Character green slope par downhill walk kar raha ho aur side ya background mein blue camping tent clearly visible ho.
Tent ki position aur character ki walking direction prompt mein describe karein. Camera movement smooth rakhein aur ensure karein ki tent har frame mein unwanted shape changes na dikhaye. Agar tent distort ho raha ho, to simpler composition try karein.
Step 8: Arms-Open Scenic Shot Banayein
Paanchve scene mein character tall wild grass ke beech khada ho aur dono arms ko naturally wide spread kare. Camera low angle se medium-wide shot capture kare aur background mein overcast sky visible ho.
Pose ko relaxed aur natural rakhein. Prompt mein realistic body proportions, natural arm positions aur cinematic outdoor lighting specify karein. Is shot ko video ke emotional highlight ke roop mein use kiya ja sakta hai.
Step 9: Pine Trees Ke Saath Relaxed Scene Banayein
Chhathe scene mein character grassy slope par side-view composition mein relaxed sitting pose mein ho aur tall pine trees ki taraf dekh raha ho.
Body posture believable rakhein. Character ka ground ke saath contact natural dikhna chahiye aur background mein pine trees clearly visible hone chahiye. Is clip ka movement comparatively slow aur peaceful rakhein.
Step 10: Final Wide Landscape Shot Banayein
Saatve aur final scene mein character green hill par baitha ho. Wide framing mein tall pine trees aur green-roofed cottages neeche ki taraf visible hon.
Yeh scene video ko peaceful ending dega. Character aur scenery ke beech balanced composition rakhein. Agar available ho, to slow camera movement ya subtle pullback use karein. Aise effects ko prompt mein describe karein, lekin final result ko generated output ke hisaab se review karein.
Step 11: Clips Ko Edit Karein
Saare seven scenes generate karne ke baad unhe correct order mein arrange karein. Unnecessary pauses remove karein aur walking, cap action, flower close-up, camping tent, arms-open pose, sitting shot aur final wide landscape ke beech smooth transitions use karein.
Color grading mein greens ko vivid rakhein, lekin skin tone ko unnaturally saturated na karein. Agar clips ki brightness alag ho, to editing software mein exposure aur white balance ko match karein.
Step 12: Export Aur Watermark Add Karein
Final video ko available export settings ke according save karein. Agar native 8K ya 120fps export available nahi hai, to highest supported quality choose karein. Prompt mein 8K ya 120fps likhne se native resolution aur frame rate automatically guaranteed nahi hote.
End mein NoorEditing07 watermark ko bottom corner mein static position par add karein. Editing ke through watermark lagane se text ka size, placement aur readability consistent rakhna aasaan hota hai.
Final Result
Ab aapke paas Kashmir-inspired cinematic travel video banane ka complete workflow hai. Best results ke liye character consistency, outfit details, realistic movement, vertical framing aur scene continuity par focus karein. Har clip ko final timeline mein use karne se pehle check karein, phir clean transitions aur balanced color grading ke saath export karein.
1. ChatGPT AI Cinematic LED Screen Photo Editing Prompt 8K
Original Link: https://www.noorediting07.com/chatgpt-ai-cinematic-led-screen-photo-editing-prompt-8k
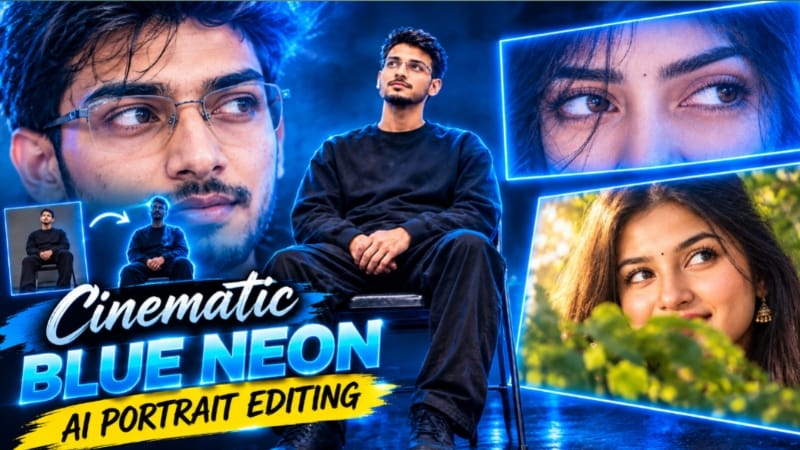
ChatGPT AI Cinematic LED Screen Photo Editing Prompt ki help se aap ek dramatic studio portrait create kar sakte hain. Is concept mein ek young man black folding chair par baitha hota hai aur uske saamne ek giant LED screen par kisi doosre person ki eyes ka extreme close-up dikhai deta hai.
Character oversized black sweatshirt, loose black trousers aur black lace-up sneakers pehenta hai. Dark studio, glossy reflective floor, electric-blue lighting aur deep navy shadows image ko cinematic appearance dete hain. Character ka head screen ki taraf tilted hota hai, jabki dono hands lap par relaxed position mein rehte hain.
Is photo ka recommended aspect ratio 4:5 vertical hai. Reference images use karte waqt seated character aur LED screen par dikhne wale person ki identity ko alag-alag specify karein. AI har facial detail ya screen content ko exactly reproduce kare, iski guarantee nahi hoti.
ChatGPT Se LED Screen Photo Kaise Banaye
Step 1: Apni clear face photo aur LED screen ke liye reference image ready karein.
Step 2: ChatGPT ya compatible AI image editor open karein.
Step 3: Dono reference images upload karke complete LED Screen Photo Editing Prompt paste karein.
Step 4: Black outfit, folding chair, blue lighting aur giant screen ki details check karein.
Step 5: 4:5 aspect ratio select karein, agar available ho.
Step 6: Image generate karke face, hands, shoes, screen content aur floor reflections check karein.
Step 7: Zarurat padne par prompt refine karein aur final image export karein.
2. Village Cricket Cinematic Video Edit | Flow AI Prompt
Original Link: https://www.noorediting07.com/village-cricket-cinematic-video-edit-flow-ai-prompt
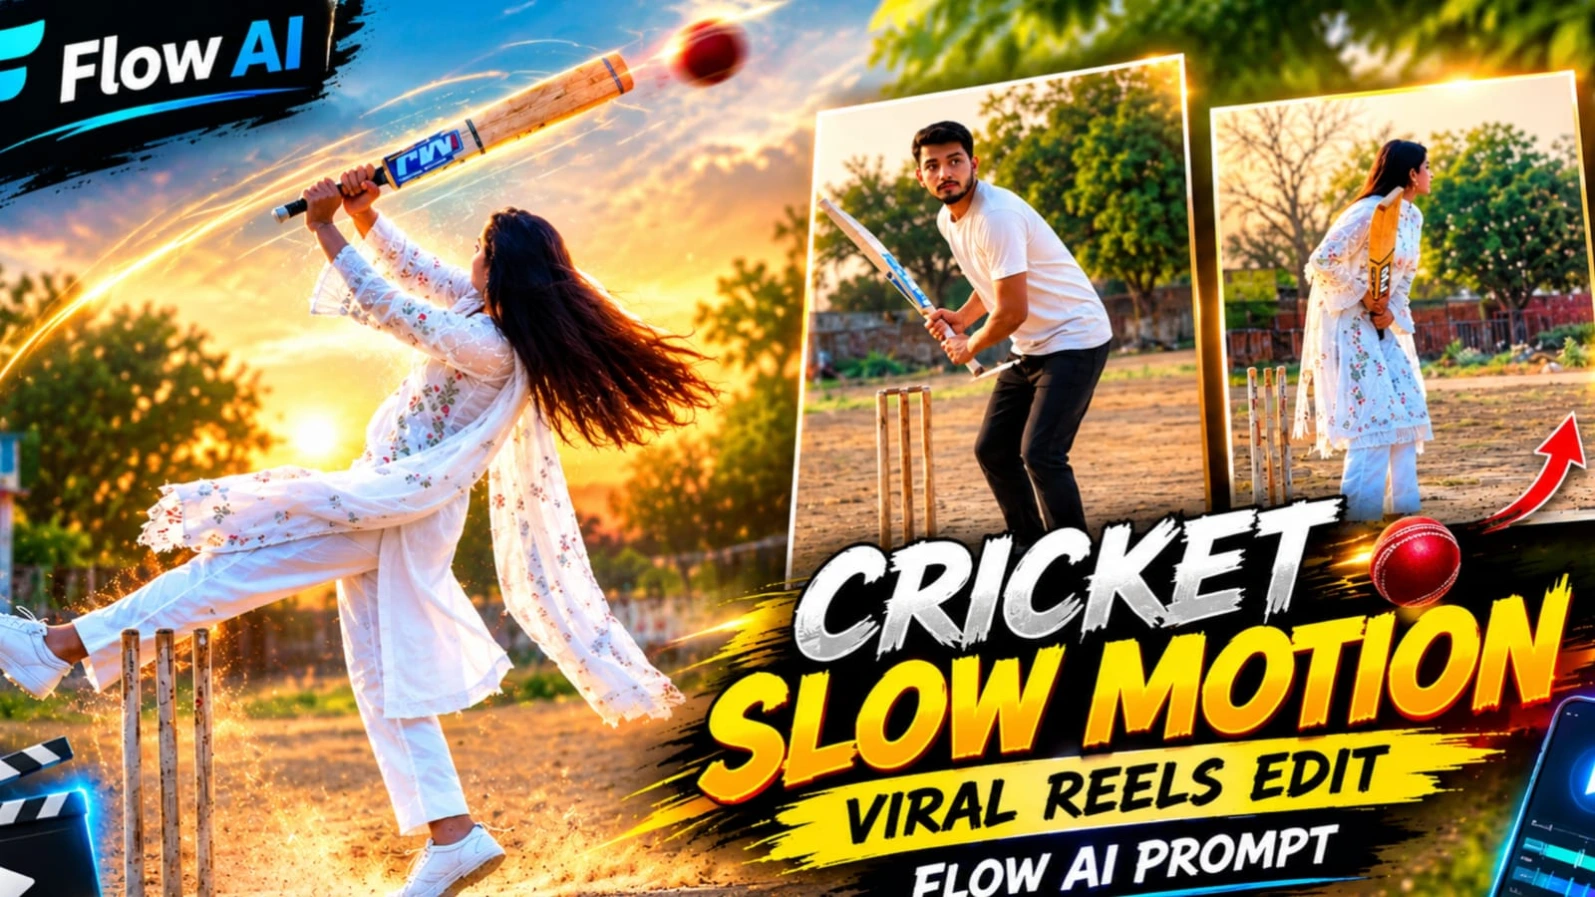
Village Cricket Cinematic Video Edit Flow AI Prompt ek creative village cricket concept hai jisme ek woman traditional white outfit mein dusty village cricket ground par bat ke saath cinematic movements karti hai. Background mein wooden stumps, concrete playing strip, trees aur ek small building dikhai dete hain.
Character white chikankari kurta, white straight pants, sheer white dupatta aur white sneakers pehenti hai. Golden-hour lighting, natural shadows aur slow-motion effects video ko realistic outdoor appearance dete hain.
Prompt mein fixed tripod camera, vertical 9:16 format aur approximately 11.5-second target duration diya gaya hai. Action sequence mein bat lift karna, forward bend, jump, turn aur camera se door walk karna shamil hai. Hair, dupatta aur bat ki movement natural rakhna is video ke liye important hai.
Flow AI Se Village Cricket Video Kaise Banaye
Step 1: Character ki clear reference photo ready karein.
Step 2: Flow AI open karein aur supported image-reference workflow select karein.
Step 3: Reference photo upload karke complete Village Cricket prompt paste karein.
Step 4: White outfit, cricket bat, village ground aur camera instructions verify karein.
Step 5: Available settings mein 9:16 vertical format select karein.
Step 6: Video generate karein aur bat movement, jump, turn aur slow-motion section check karein.
Step 7: Face consistency, hands aur dupatta movement review karein.
Step 8: Final clip ko export karke Instagram Reels ya YouTube Shorts par share karein.
3. Friends Disco Dance Video AI Tutorial – Create Viral Dance Videos with AI
Original Link: https://www.noorediting07.com/friends-disco-dance-video-ai-tutorial-create-viral-dance-videos-with-ai
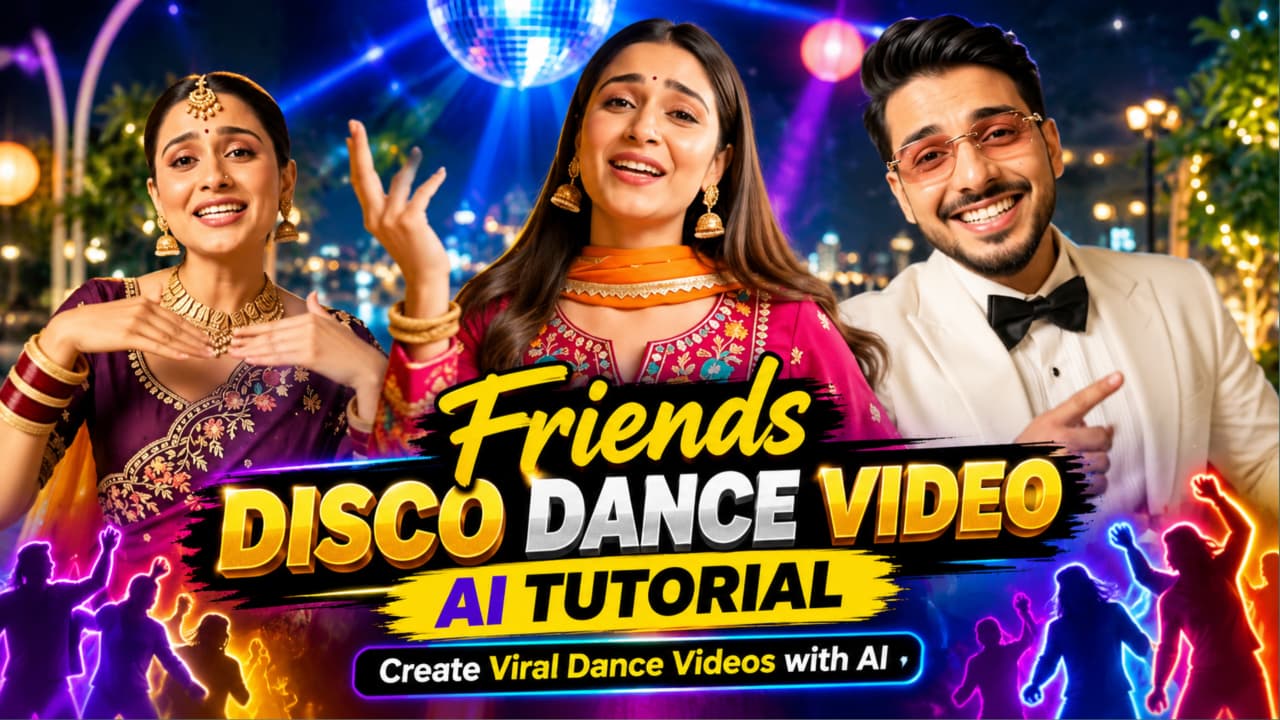
Friends Disco Dance Video AI Tutorial ki help se aap AI tools ka use karke friends ke group dance ka energetic video create kar sakte hain. Is concept mein colourful indoor disco party, glowing dance floor, moving spotlights aur overhead disco ball jaise visual elements use kiye ja sakte hain.
Video mein friends coordinated side steps, shoulder movements, hand gestures aur simple turns perform karte hain. Stylish party outfits, colourful reflections aur smooth camera movement scene ko lively appearance dete hain.
Flow AI jaise compatible video-generation tools mein aap text prompt ke through group appearance, dance actions, lighting aur camera framing describe kar sakte hain. Reference images ka option available ho to unka use characters ki appearance guide karne ke liye kiya ja sakta hai.
AI-generated video viral hone ki guarantee nahi hoti. Best results ke liye simple choreography rakhein aur faces, hands, clothing aur body movements ko final output mein check karein.
AI Se Friends Disco Dance Video Kaise Banaye
Step 1: Friends ki reference photos ready karein, agar tool reference images support karta ho.
Step 2: Flow AI ya compatible video generator open karein.
Step 3: Disco dance prompt paste karein aur friends ki appearance aur outfits describe karein.
Step 4: Colourful disco lights, glowing floor aur coordinated dance movements include karein.
Step 5: Video generate karke faces, hands aur group movements check karein.
Step 6: Agar movement unnatural ho, to prompt simplify karke dobara generate karein.
Step 7: Clips ko editing app mein arrange karein, suitable music add karein aur final video export karein.
4. ChatGPT AI Birthday Poster Prompt | Luxury Birthday Photo Editing
Original Link: https://www.noorediting07.com/chatgpt-ai-birthday-poster-prompt-luxury-birthday-photo-editing
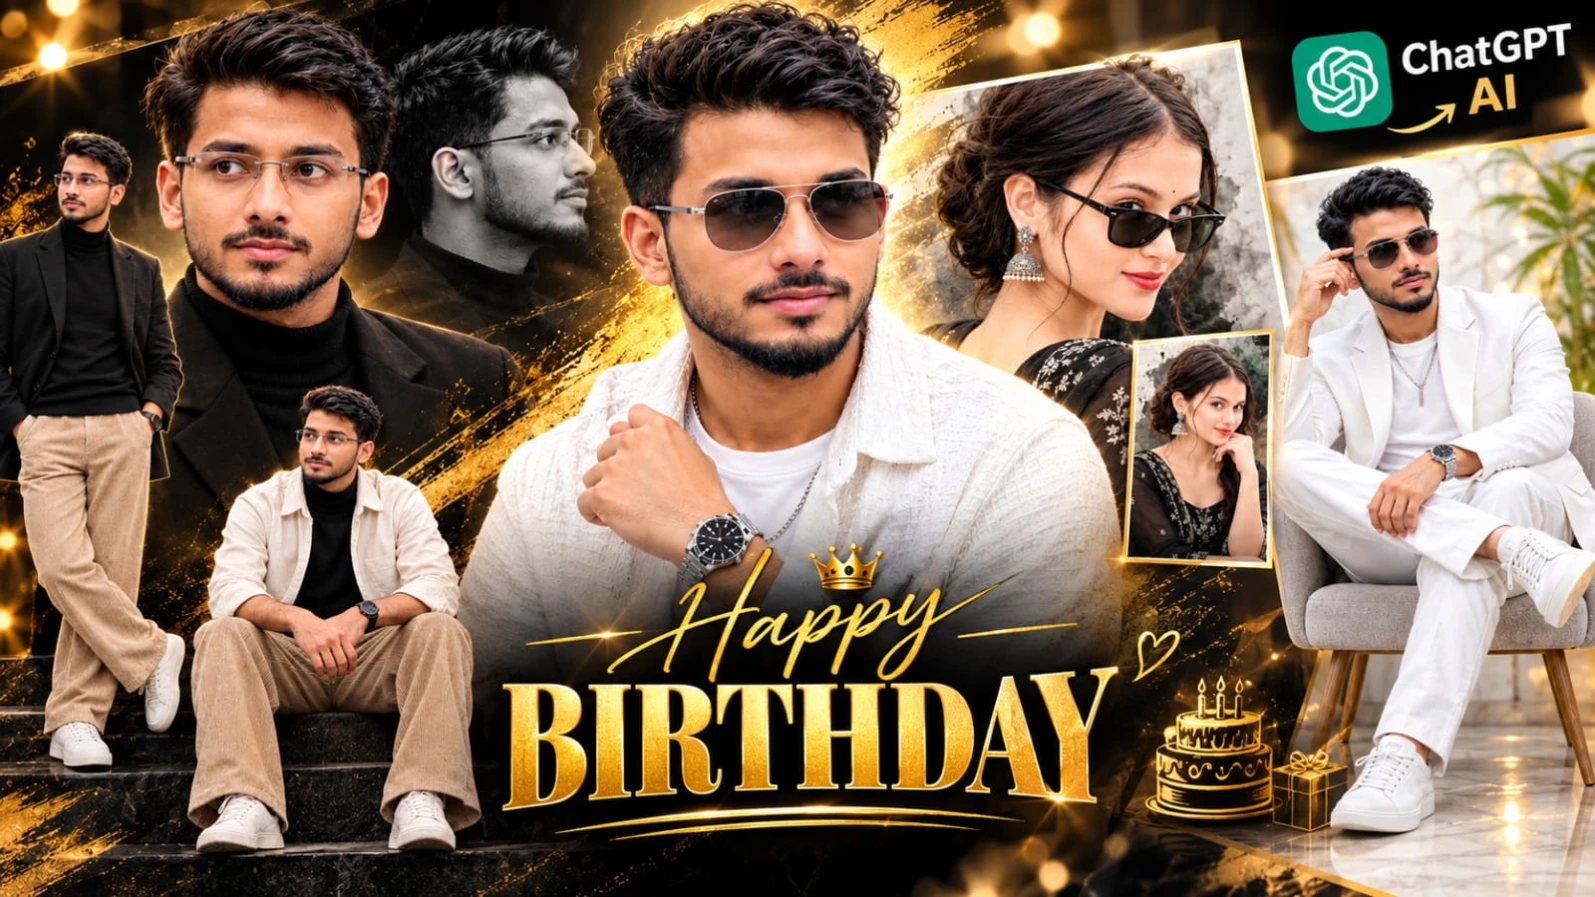
ChatGPT AI Birthday Poster Prompt page par ek personalized name-poster concept diya gaya hai, jiska featured design “SHWETA” naam ke saath create kiya gaya hai. Ismein realistic portrait, large 3D letters, cute chibi cartoon characters aur warm pastel background ko combine kiya gaya hai.
Design mein woman cream-white anarkali-style kurta, pink rose embroidery aur blush-pink dupatta pehenti hai. Poster ke left-center mein cream-white 3D letters vertical arrangement mein SHWETA spell karte hain. Pink flowers, green vines, gold edges aur six chibi-style cartoon girls design ko decorative look dete hain.
Cream-peach background, soft golden sunlight, floral props aur subtle shadows overall composition ko elegant appearance dete hain. Do reference images use karne ka concept hai: pehli poster design ke liye aur doosri face reference ke liye.
Note: Page ka featured example personalized name poster hai; ise birthday poster banane ke liye birthday text aur decorations ko apni requirement ke hisaab se customize karna hoga.
ChatGPT Se Personalized Poster Kaise Banaye
Step 1: Poster reference image aur apni clear face photo ready karein.
Step 2: ChatGPT mein dono images upload karein aur unka purpose clearly specify karein.
Step 3: Complete name-poster prompt paste karein aur SHWETA ki jagah apna desired name likhein.
Step 4: Outfit, 3D letters, floral decorations aur pastel background ki details check karein.
Step 5: 4:5 vertical composition select karein, agar available ho.
Step 6: Poster generate karke face, name spelling aur decorative text verify karein.
Step 7: Birthday theme chahiye to birthday message add karein aur final poster export karein.
5. Emotional Bridge Cinematic Video Prompt | Flow AI Edit
Original Link: https://www.noorediting07.com/emotional-bridge-cinematic-video-prompt-flow-ai-edit
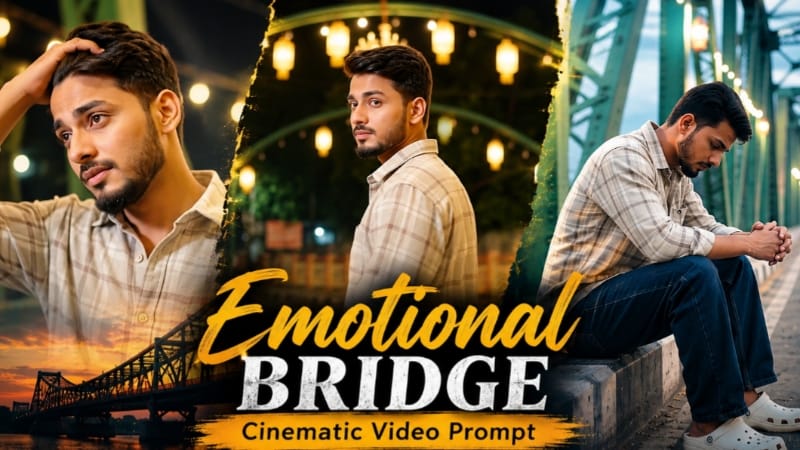
Emotional Bridge Cinematic Video Prompt ek storytelling concept hai jisme ek young man colourful steel-truss bridge par warm golden festival lights ke beech walk karta hai. Green aur yellow metal structures, geometric rangoli-style pavement art aur glowing lanterns scene ko visually distinctive banate hain.
Character light beige-grey aur brown check-patterned shirt, dark navy jeans aur white clogs pehenta hai. Video ka emotional mood loneliness, reflection aur emotional release par focus karta hai. Eight scenes mein bridge ka opening view, concrete edge par baithna, back-view walking, shoulder ke upar se look, arms spread karna aur final emotional close-up shamil hain.
Prompt mein smooth tracking shots, warm golden lighting aur colourful background details par focus hai. Recommended composition 16:9 landscape hai. Agar AI tool ek hi generation mein saare scenes accurately create na kare, to separate clips generate karke editing app mein combine kiye ja sakte hain.
Flow AI Se Emotional Bridge Video Kaise Banaye
Step 1: Apni clear reference photo ready karein.
Step 2: Flow AI open karein aur available video-generation workflow select karein.
Step 3: Reference image upload karein, agar supported ho, aur complete Emotional Bridge prompt paste karein.
Step 4: Check-patterned shirt, navy jeans, white clogs aur illuminated bridge ki details verify karein.
Step 5: Available settings mein 16:9 landscape format select karein.
Step 6: Video generate karein aur eight scenes ka sequence check karein.
Step 7: Face consistency, walking movements, lighting aur background details review karein.
Step 8: Zarurat padne par scenes separately generate karke editing app mein arrange karein.
Step 9: Final video mein consistent colour grading aur suitable background music add karke export karein.