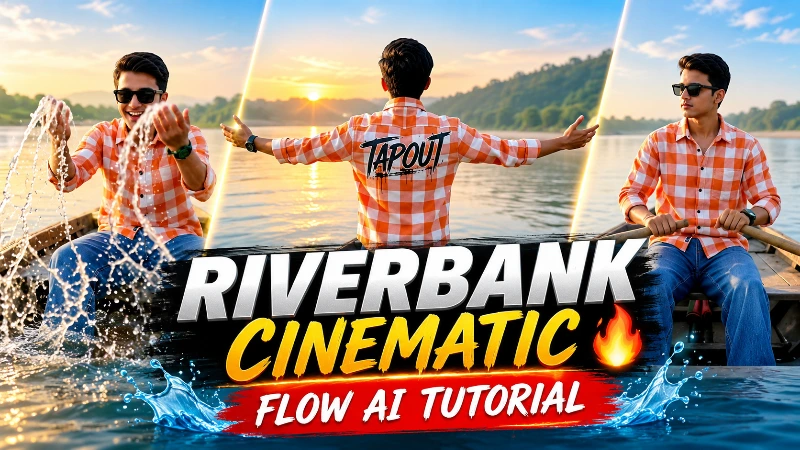
Riverbank Cinematic AI Video Prompt | Flow Ai Tutorial
Riverbank Cinematic AI Video Prompt: Create a 14-Scene Ultra-Realistic River Video
Want to create a beautiful cinematic video featuring a peaceful river, traditional wooden boats, green hills, and natural golden-hour lighting? This Riverbank Cinematic AI Video Prompt is designed for creators who want to transform a character reference photo into a detailed cinematic travel-style video.
The concept includes 14 different scenes showing the same hero enjoying a scenic riverbank. From standing beside a wooden boat and splashing water to rowing, dancing, walking along the shoreline, and looking directly into the camera, every scene captures a different moment of a relaxed riverside experience.
The requested video format is widescreen 16:9, with an ultra-realistic DSLR-inspired visual style and a bright, warm atmosphere. The prompt is suitable for AI video-generation workflows and cinematic social media projects.
A Beautiful Riverbank Environment
The setting features a wide, peaceful riverbank surrounded by green hills and natural scenery. Wooden rowboats float on calm water, while soft morning mist creates a refreshing atmosphere.
The river reflects the surrounding daylight, creating natural highlights and gentle water reflections. Sandy areas along the shoreline provide space for walking, dancing, and other activities.
The lighting direction is bright and warm, inspired by sunrise or sunset. The overall look should remain naturally illuminated, without excessively dark shadows, crushed blacks, or artificial-looking colour effects.
Character Identity and Face Consistency
The uploaded photo acts as the primary identity reference for the hero.
The prompt requests consistent facial features, jawline, hairstyle, and skin tone throughout all 14 scenes. The character should remain recognizable in front-facing shots, profile views, back-view compositions, and close-up portraits.
Dark black sunglasses remain part of the character's appearance and should be visible in shots where the face is shown.
For the best possible consistency, use the same reference photo throughout the generation workflow wherever the selected platform supports character or image-reference guidance. AI video tools can still introduce variations between separate shots, so review the generated scenes carefully.
Outfit Details: TAPOUT Shirt and Blue Denim
The hero wears an orange and white checkered button-up shirt featuring a TAPOUT graphic across the back.
The outfit also includes baggy flared blue denim jeans, white sneakers, and dark black sunglasses.
The clothing should remain consistent across all 14 scenes. Pay particular attention to the TAPOUT back graphic because it is most visible in the rear-view shots.
The shirt pattern, graphic placement, denim shape, footwear, and sunglasses should not change unexpectedly between scenes.
Scene 1: Looking at a Wooden Boat
The video begins with a medium back-view shot of the hero standing near the river's edge.
He looks toward a wooden boat floating on the water. The camera captures the river, surrounding scenery, and the back of his orange-and-white checkered shirt.
This opening shot establishes the peaceful riverside atmosphere.
Scene 2: Splashing River Water
The second scene shows the hero sitting inside a wooden boat.
He uses both hands to splash river water high into the air. Water droplets catch the natural daylight, creating a lively and refreshing moment.
The scene should maintain realistic water movement and natural body motion.
Scene 3: Dancing on the Sandy Bank
The third scene is a wide full-body composition on the sandy riverbank.
The hero dances with both arms open, with green hills forming the background.
The wide framing captures his complete outfit and the surrounding landscape.
Scene 4: Looking Toward the Sky
The fourth scene shows the hero standing alone in profile beside the river.
He looks upward toward the sky while the calm water and natural surroundings remain visible.
This quiet shot adds a peaceful moment between the more energetic scenes.
Scene 5: Rowing a Wooden Boat
The fifth scene features a medium front view of the hero rowing a wooden boat with a long paddle.
He smiles confidently behind his dark sunglasses while moving the paddle through the water.
The rowing action should look natural, with realistic paddle movement and gentle water currents.
Scene 6: Looking Up Near the Water
The sixth scene uses a medium profile composition near the calm river.
The hero slowly turns his head upward toward the sky.
Natural daylight illuminates his face and sunglasses, while the water provides a soft background.
Scene 7: Adjusting the Shirt Collar
The seventh scene shows the hero from the front.
He adjusts the collar of his orange-and-white checkered shirt and glances around the riverbank.
This small action adds a casual lifestyle moment to the cinematic sequence.
Scene 8: Opening Both Arms Toward the River
The eighth scene returns to a medium back-view composition.
The hero stands facing the open river and stretches both arms wide.
The TAPOUT graphic across the back of his shirt remains visible. The wide river and surrounding scenery create a feeling of freedom and relaxation.
Scene 9: Walking Along the Wooden Boat
The ninth scene features a full-body view of the hero walking along the edge of a wooden boat.
He carries a long wooden oar over one shoulder.
His walking movement should appear balanced and natural, while the boat remains visually consistent with the river setting.
Scene 10: Standing on the Boat
The tenth scene shows the hero standing on the tip of a wooden boat.
He looks toward the distant horizon in a medium-wide composition.
The calm water and open landscape create a cinematic travel atmosphere.
Scene 11: Front Tracking Shot While Rowing
The eleventh scene captures the hero rowing the boat forward through calm river currents.
The camera follows from the front in a tracking composition, maintaining a clear view of the character and paddle movement.
The water should respond naturally to the boat's motion.
Scene 12: Confident Close-Up While Paddling
The twelfth scene moves into a close-up front view.
The hero smiles confidently behind his dark sunglasses while paddling the boat.
The focus remains on his face, sunglasses, and natural expression, with the river softly visible in the background.
Scene 13: Running Along the River Shoreline
The thirteenth scene uses a wide side-tracking composition.
The hero runs joyfully along the sandy river shoreline.
His shirt and loose denim move naturally with his running motion. The camera follows his movement while keeping the river and landscape visible.
Scene 14: Final Riverbank Portrait
The final scene is a medium close-up portrait beside the river.
The hero stands near the water and turns to look directly at the camera.
His confident expression, sunglasses, and consistent facial appearance create a memorable ending.
The NoorEditing07 watermark should remain in the bottom corner as requested.
Cinematic Colour Grading and Visual Quality
The visual direction focuses on bright warm golden-hour daylight, soft river reflections, natural skin tones, and detailed environmental textures.
The video should avoid excessive darkness, crushed shadows, and artificial-looking skin. The overall appearance should resemble real DSLR travel footage.
The requested 8K resolution and 120fps are target specifications for the desired visual style. Actual resolution, frame rate, HDR support, and colour depth depend on the AI platform and export settings.
Watermark and Final Video Presentation
The requested watermark is "NoorEditing07", positioned in a bottom corner of the frame.
It should remain small and subtle so that it does not distract from the character or river scenery.
The final output is intended to use a 16:9 widescreen composition with approximately 14 different cinematic moments.
Why Use This Riverbank AI Video Prompt?
This concept is suitable for travel-vlog edits, cinematic lifestyle videos, river photography-inspired AI projects, and character-based video experiments.
Its main advantage is the variety of 14 scenes. The video includes different camera compositions, natural activities, water interactions, and landscape views while maintaining one consistent character and outfit.
For the best result, begin with a clear character reference photo, preserve the exact scene order, and review the generated footage for face consistency, shirt graphics, natural water physics, and outfit accuracy.
The final video should feel like a real riverside trip captured during beautiful golden-hour daylight.
Sabse Pehle Character Sheet Photo Banaai ChatGPT Se
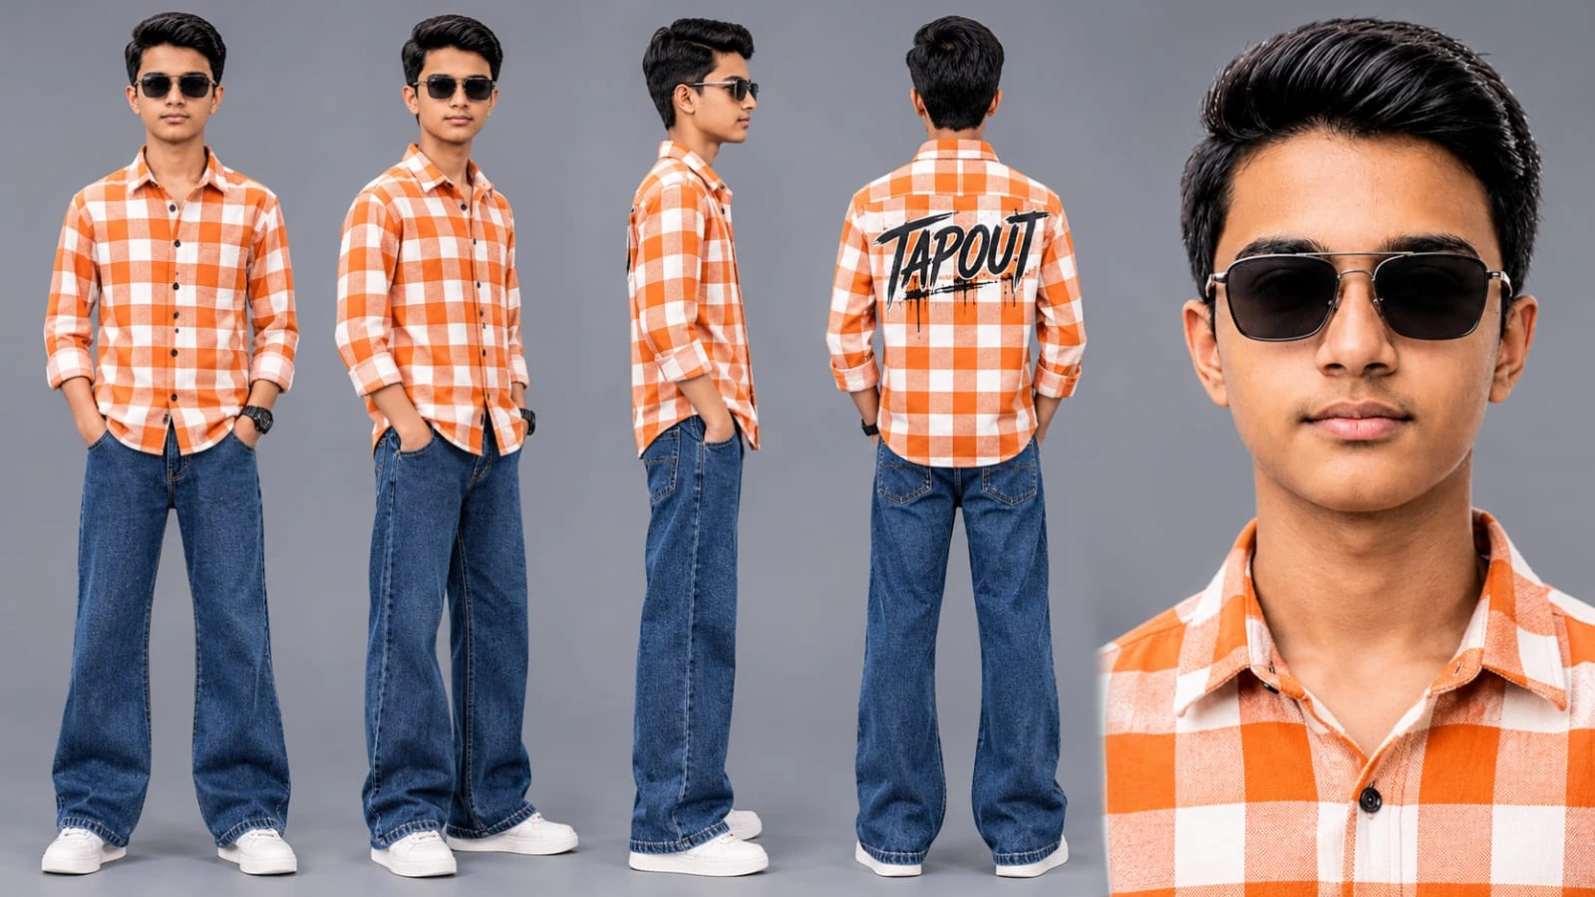


How to Create a 14-Scene Riverbank Cinematic AI Video
You can use this Riverbank Cinematic AI Video Prompt with a compatible AI video-generation platform. The concept is designed to create a widescreen 16:9 video featuring 14 different riverside moments, with one consistent character throughout the sequence.
Follow these steps to prepare your reference image, configure the scenes, and generate the final video.
Step 1: Upload Your Character Photo
Choose a clear photo of your character with visible facial features.
Use this image as the main identity reference wherever the AI platform supports image-to-video or character-reference functionality.
The character's facial features, jawline, hairstyle, and skin tone should remain consistent in all scenes. Keep the dark black sunglasses as part of the appearance.
Step 2: Set the Video Format
Choose a 16:9 widescreen aspect ratio if supported.
The prompt requests an ultra-realistic 8K cinematic appearance and 120fps. These are desired output specifications; actual resolution and frame rate depend on the platform's available generation and export options.
Plan the video around the complete sequence of 14 scenes.
Step 3: Add the Outfit Description
Enter the full outfit details into the prompt:
Orange and white checkered button-up shirt.
TAPOUT graphic across the back.
Baggy flared blue denim jeans.
White sneakers.
Dark black sunglasses.
Keep the outfit description consistent throughout the video. Pay special attention to the back graphic in rear-view shots.
Step 4: Describe the Riverbank Location
Create a wide, peaceful riverbank environment.
Include calm river water, wooden rowboats, green hills, sandy shoreline, and soft morning mist.
Use bright natural daylight with a warm sunrise or sunset atmosphere. Request soft water reflections and natural shadows.
Step 5: Generate Scenes 1 to 4
The opening four scenes introduce the location and character.
First, show the hero standing beside the river and looking at a wooden boat. Next, show him sitting in a boat and splashing water with both hands.
Then create a wide dancing shot on the sandy riverbank, followed by a profile shot of the hero looking toward the sky.
Preserve the exact order and actions described in the original prompt.
Step 6: Generate Scenes 5 to 8
The next four scenes focus on natural character activities.
Show the hero rowing a wooden boat with a long paddle and smiling behind sunglasses.
Then create a profile shot in which he turns his head upward near the water. Follow this with a front shot of him adjusting his shirt collar and looking around.
Finish this group with a back-view shot of him opening both arms toward the river.
Step 7: Generate Scenes 9 to 11
The ninth scene shows the hero walking along the wooden boat edge with a long oar over his shoulder.
In the tenth scene, show him standing on the tip of the boat and looking toward the horizon.
The eleventh scene features a front tracking composition as he rows the boat forward through calm river currents.
Pay attention to natural balance, paddle movement, and realistic water interaction.
Step 8: Generate Scenes 12 to 14
The final three scenes complete the cinematic sequence.
Create a front close-up of the hero smiling behind sunglasses while paddling.
Next, show him running joyfully along the sandy shoreline in a wide side-tracking shot.
For the final scene, create a medium close-up portrait beside the river. The hero turns toward the camera and looks directly into the lens.
Step 9: Add Colour and Camera Instructions
Request bright warm golden-hour daylight, natural skin tones, soft water reflections, and clear environmental details.
Avoid crushed blacks, excessively dark shadows, and artificial skin textures.
Use appropriate camera framing for each scene: wide shots, medium shots, close-ups, profile compositions, and tracking shots.
The camera movement should follow the action described in each scene rather than adding unnecessary movements.
Step 10: Add the Watermark
Include the text "NoorEditing07" in a small, subtle position in the bottom corner.
If the platform supports text rendering, include the watermark in the generation instructions. If the text appears distorted, add it afterward using a video editor.
Step 11: Review the Final Video
After generation, check all 14 scenes in the correct order.
Confirm that the character's face remains recognizable, the TAPOUT shirt graphic stays consistent, and the jeans, sunglasses, and sneakers do not change.
Review the rowing movements, water splashes, boat positions, running action, and final portrait.
Also check the widescreen composition, brightness, natural skin texture, and watermark placement.
If the platform cannot generate all 14 scenes in one video, generate shorter clips and arrange them in the original sequence using a compatible video editor.
With consistent character references and careful scene editing, you can create a beautiful cinematic riverbank travel video using AI.
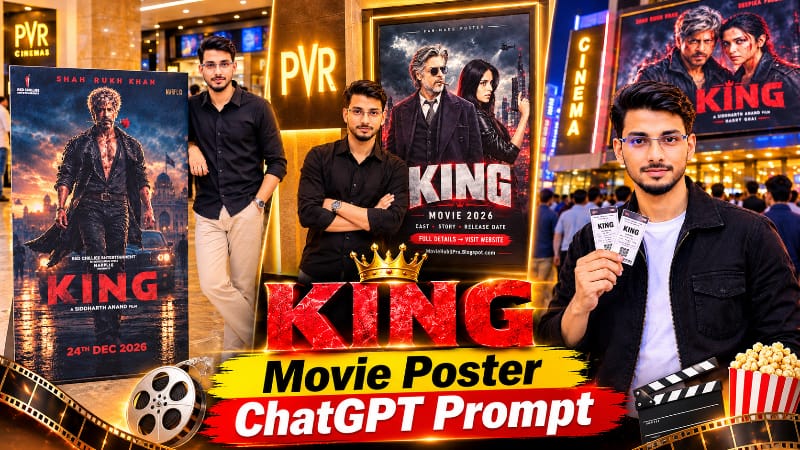
1. ChatGPT KING Movie Poster AI Photo Editing Prompt – Create Cinema Lobby Photo
Original URL: https://www.noorediting07.com/chatgpt-king-movie-poster-ai-photo-editing-prompt
ChatGPT se aap apni photo ko ek realistic KING movie poster experience mein badal sakte hain. Is editing concept mein apni face photo aur favourite movie poster upload karke cinema lobby mein life-size standee ke saath photo create kar sakte hain. Ismein modern cinema background, glowing screens, popcorn counter aur warm cinematic lighting ka use hota hai.
ChatGPT KING Movie Poster Photo Kaise Banaye
Step 1: ChatGPT open karein aur image generation ke liye nayi chat start karein.
Step 2: Apni clear face photo ko Image 1 ke roop mein upload karein.
Step 3: KING movie poster ko Image 2 ke roop mein upload karein.
Step 4: NoorEditing07 website se complete AI photo prompt copy karke ChatGPT mein paste karein.
Step 5: Prompt mein diye gaye MAN ya WOMAN aur OUTFIT options ko apni requirement ke according change karein.
Step 6: 4:5 portrait ratio mein image generate karein. Is concept mein black oversized hoodie, loose black trousers aur white slides ka outfit diya gaya hai.
Step 7: Final image mein face, poster artwork, lighting aur standee position check karein.
Aap cinema lobby ke alawa cinema building ke bahar glowing billboard wala concept bhi try kar sakte hain. AI poster ke text aur original artwork ko generate hone ke baad zaroor check karein.
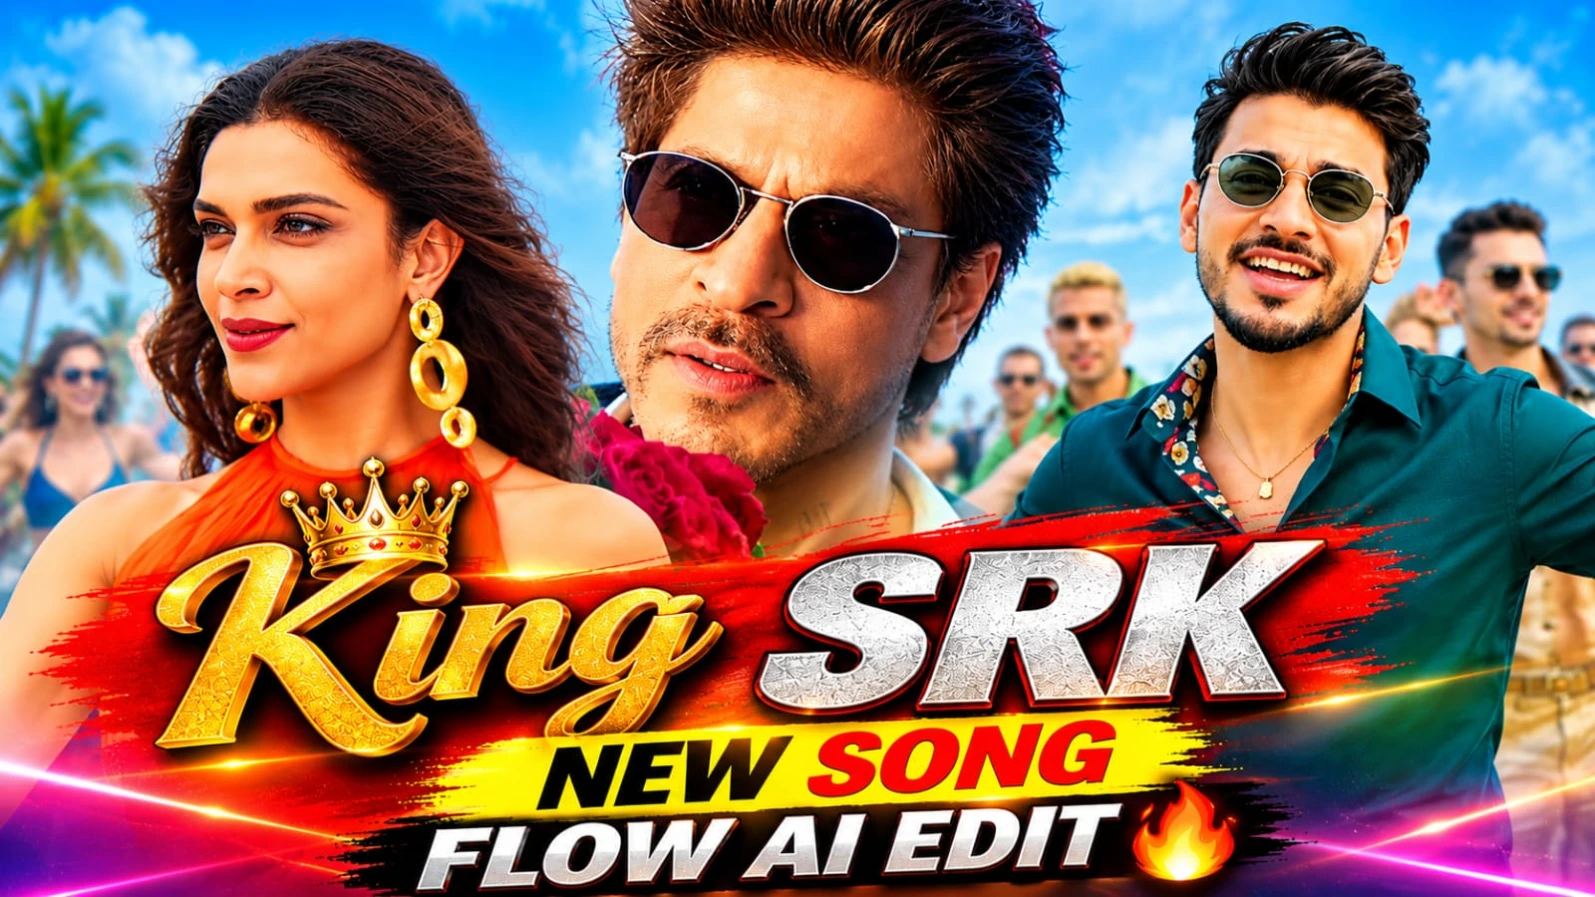
2. King Movie Cinematic AI Video Editing Prompt – Flow AI Tutorial
Original URL: https://www.noorediting07.com/king-movie-cinematic-ai-video-editing-prompt-flow-ai-tutorial
King Movie Cinematic AI Video Editing ek movie-style video concept hai, jisme apni reference photo ko main character banakar dramatic cinematic scenes create kiye ja sakte hain. Is tutorial mein pehle ChatGPT se character sheet banane aur phir Flow AI se 17-second cinematic video generate karne ka workflow diya gaya hai.
Flow AI Se King Cinematic Video Kaise Banaye
Step 1: Sabse pehle ChatGPT open karein aur apni clear face photo upload karein.
Step 2: Website par diya gaya character sheet prompt use karein. Ismein front view, side view, back view aur face close-up banana hai.
Step 3: Character ka outfit deep teal-green shirt, matching trousers, floral inner collar, gold chains, bracelets aur round sunglasses rakhein.
Step 4: Character sheet image save karein aur Flow AI open karein.
Step 5: Flow AI mein reference video, character sheet aur required images upload karein, agar selected workflow inhe support karta ho.
Step 6: Website se AI video prompt copy karke paste karein. Prompt mein 16:9 cinematic format aur 17-second video ka concept diya gaya hai.
Step 7: Generate par click karein aur video complete hone ke baad har scene check karein.
Step 8: Zarurat padne par alag-alag clips generate karke video editor mein combine karein.
AI generation mein face aur movements badal sakte hain, isliye final video publish karne se pehle preview zaroor karein.
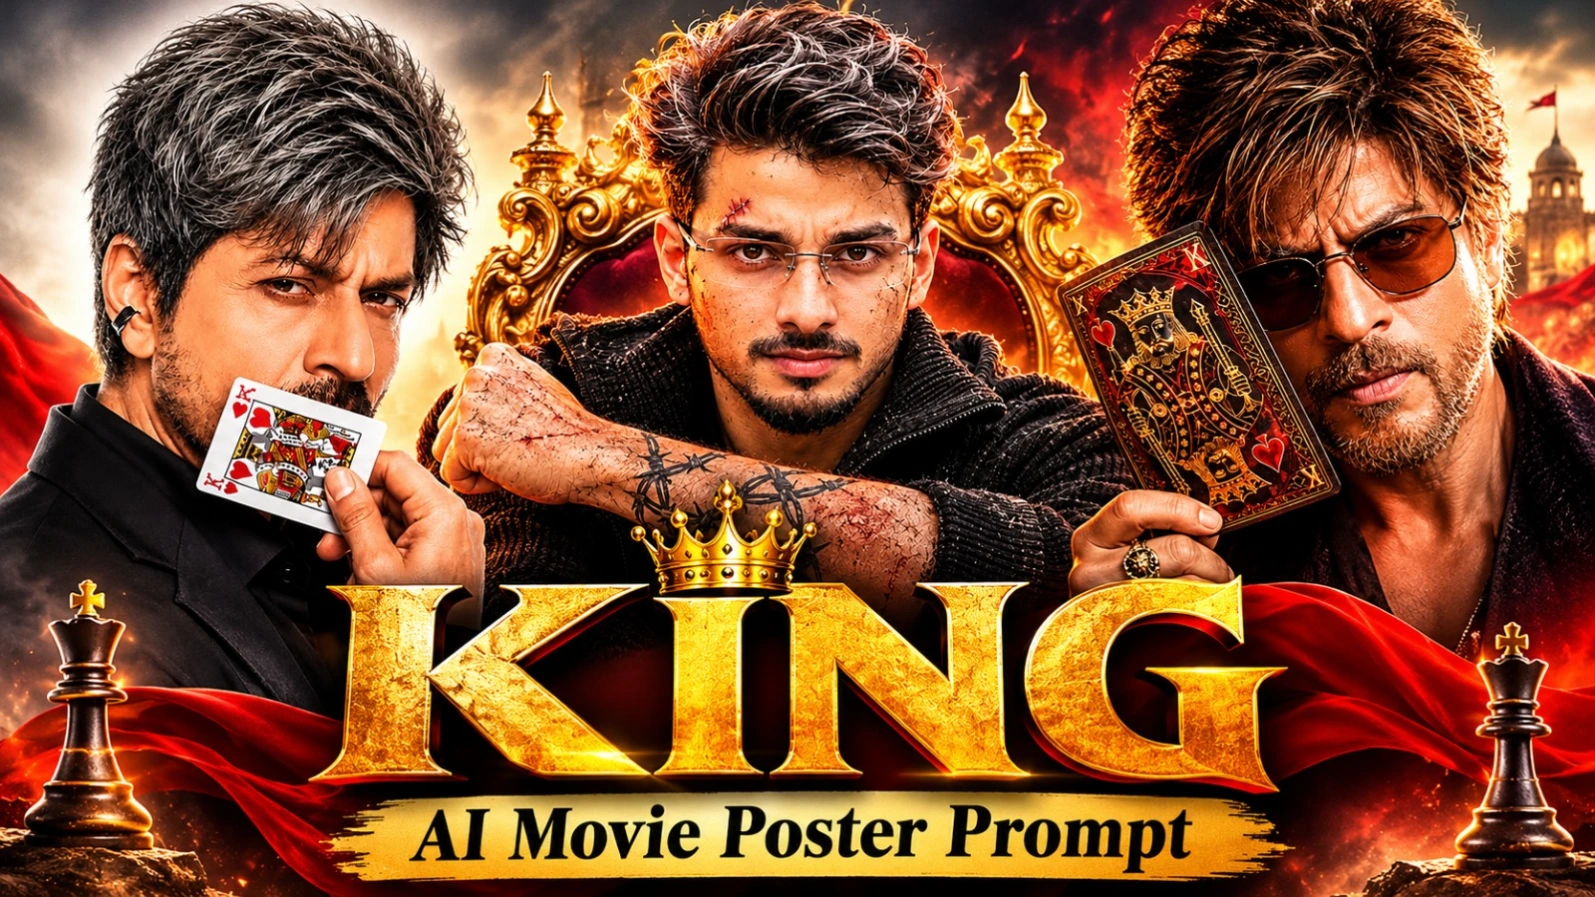
3. KING AI Movie Poster Prompt – 3 Cinematic Photo Editing Designs
Original URL: https://www.noorediting07.com/king-ai-movie-poster-prompt-3-cinematic-photo-editing-prompts
Agar aap apni normal photo ko professional KING movie poster mein convert karna chahte hain, to ye 3 cinematic AI photo editing concepts try kar sakte hain. Inmein King of Hearts studio poster, dark action-thriller poster aur royal golden sunset poster shamil hain. Har design ka outfit, background aur typography alag hai.
3 KING AI Movie Posters Kaise Banaye
Step 1: Apni ek clear face photo select karein. Behtar result ke liye face clearly visible hona chahiye.
Step 2: NoorEditing07 website open karke apni pasand ka KING poster prompt copy karein.
Step 3: ChatGPT ya supported AI image generator mein reference photo upload karke prompt paste karein.
Step 4: Pehle design mein black blazer, King of Hearts playing card aur light-grey studio background milega.
Step 5: Doosre design mein black textured outfit, red smoke, fiery lighting aur action-thriller style ka KING title hai.
Step 6: Teesre design mein maroon-black jacket, amber sunglasses, golden sunset aur palace background ke saath royal look create hota hai.
Step 7: Image generate hone ke baad face, hands, playing card aur KING title ki spelling check karein.
Teeno designs ko alag-alag generate karke apne Instagram Reels cover ya social media poster ke liye use kar sakte hain. Actual face consistency aur image quality AI tool par depend karegi.
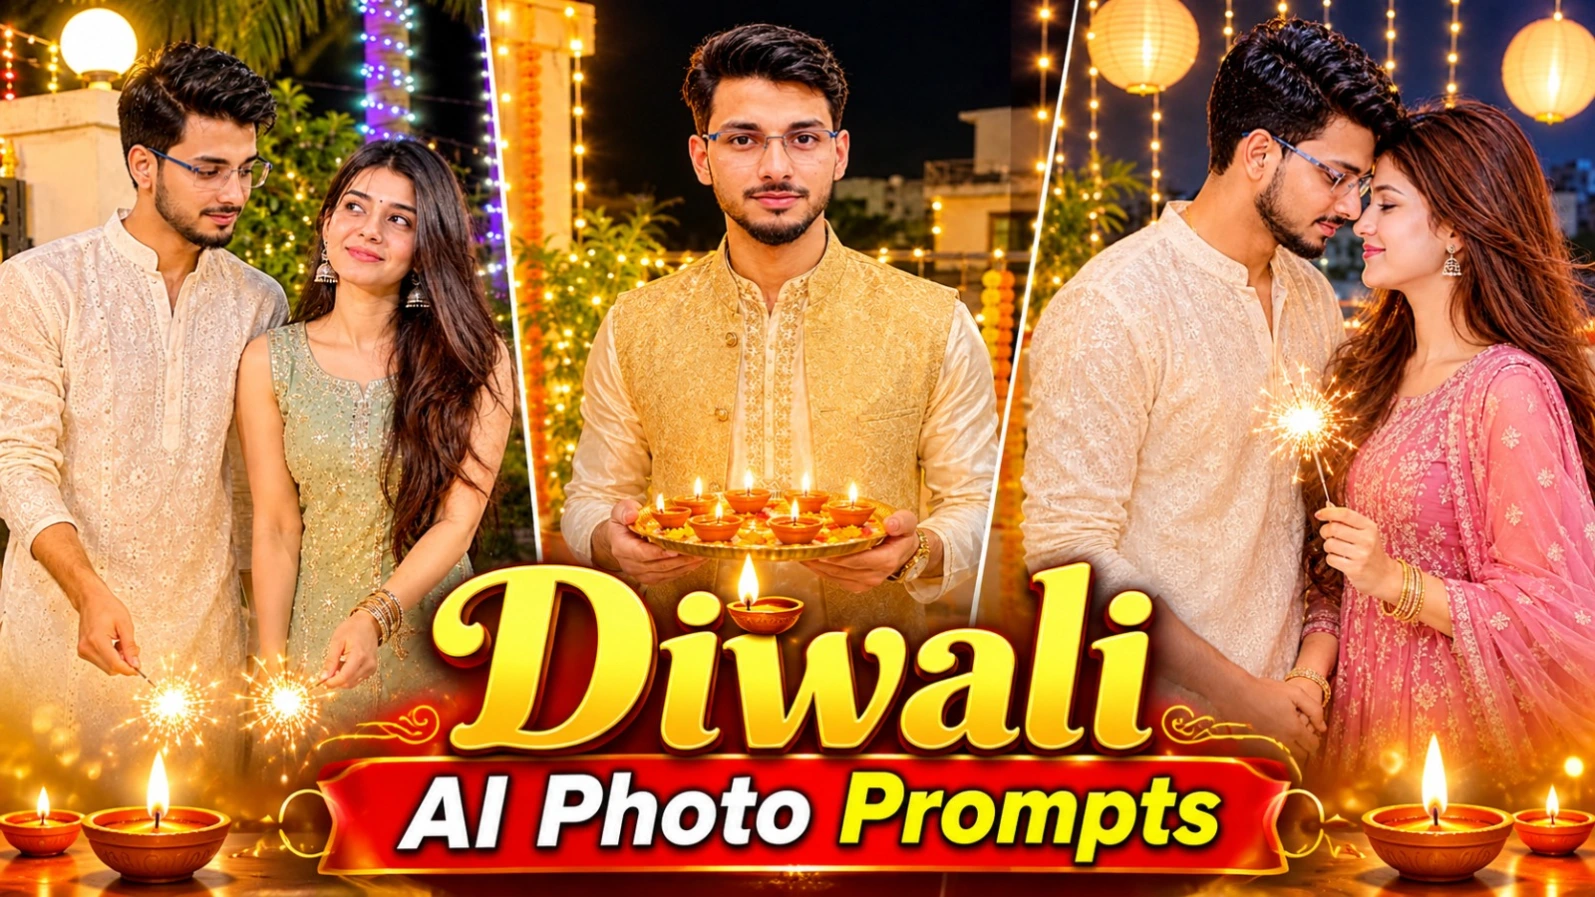
4. 6 Diwali AI Photo Prompts – Couple, Solo & Festive Portraits
Original URL: https://www.noorediting07.com/6-diwali-ai-photo-prompts-couple-solo-festive-portraits
Diwali ke special occasion par AI tools ki madad se beautiful festive portraits create kar sakte hain. Is collection mein women, men aur couples ke liye 6 alag photo concepts diye gaye hain. Inmein traditional outfits, glowing diyas, sparklers, rangoli aur fairy lights ka combination hai.
6 Diwali AI Photos Kaise Banaye
Step 1: Apni clear reference photo select karein. Couple image ke liye dono logon ki separate photos ready rakhein.
Step 2: Website se apni pasand ka Diwali prompt copy karein.
Step 3: Pehla concept red floral Anarkali suit, diya thali aur 2x2 photo collage ke saath hai.
Step 4: Doosra concept couple portrait hai, jisme cream chikankari kurta aur mint embroidered outfit ke saath sparklers hain.
Step 5: Teesra aur chautha concept men's solo portraits hain, jisme cream silk kurta ya white chikankari kurta ke saath diya thali aur sparkler diya gaya hai.
Step 6: Paanchve concept mein maroon sherwani aur emerald-green lehenga ke saath floral rangoli hai.
Step 7: Chhathe concept mein couple rooftop par sparkler ke saath romantic pose mein hai.
Step 8: AI generator mein 4:5 portrait format select karein aur final image check karein.
Face, hands, outfit aur lighting ko generate hone ke baad zaroor review karein.
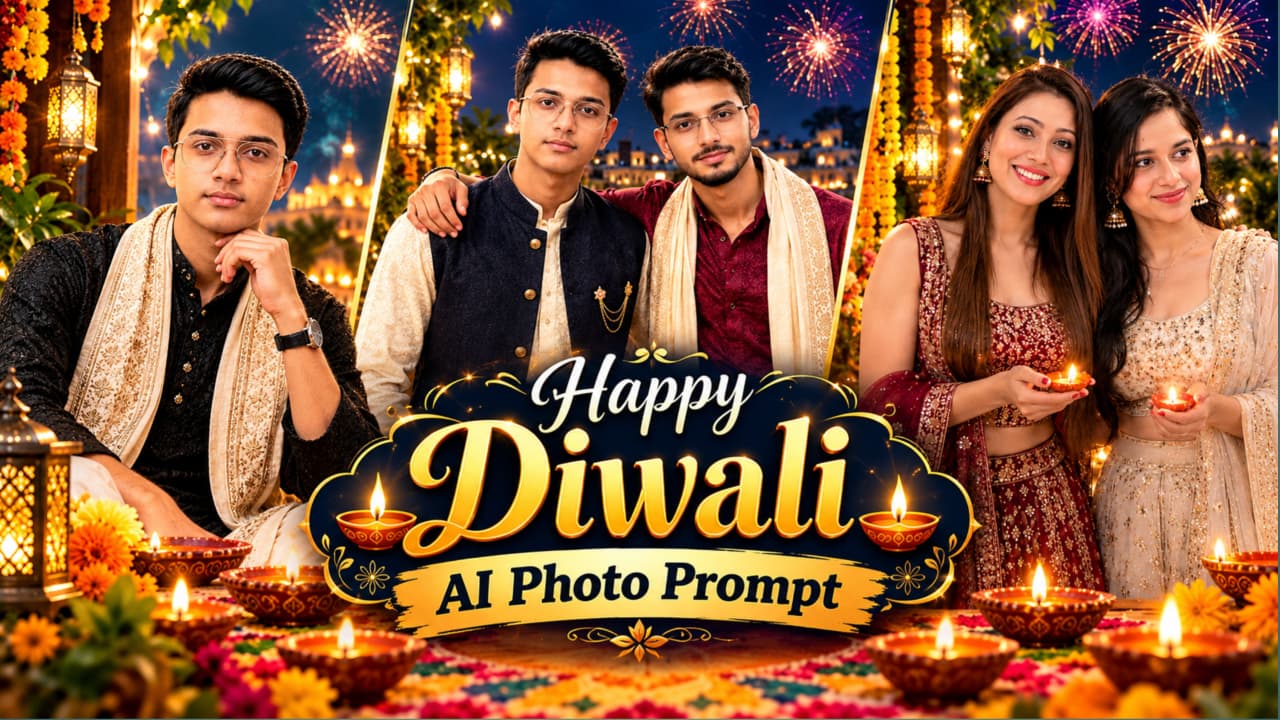
5. Happy Diwali AI Photo Prompt 8K – Create a Festive Portrait
Original URL: https://www.noorediting07.com/happy-diwali-ai-photo-prompt-8k-create-a-festive-portrait
Happy Diwali AI Photo Prompt ki madad se aap ek beautiful festive greeting poster create kar sakte hain. Is concept mein traditional Indian temple aur river ghat background, golden fireworks, floating diyas, marigold flowers aur attractive Happy Diwali typography ka use hota hai. Portrait ke liye black textured kurta, ivory embroidered shawl aur cream trousers ka look diya gaya hai.
Happy Diwali AI Photo Kaise Banaye
Step 1: ChatGPT ya apna preferred AI image generator open karein.
Step 2: Apni clear reference photo upload karein, agar tool reference-image support karta hai.
Step 3: NoorEditing07 website se Happy Diwali AI photo prompt copy karein.
Step 4: Prompt paste karein aur 4:5 vertical portrait format select karein.
Step 5: Is design mein black kurta, golden border wali ivory shawl, wristwatch aur cross-legged sitting pose diya gaya hai.
Step 6: Background mein illuminated temple, palace, river reflections, fireworks aur floating diyas create karne ke instructions hain.
Step 7: Golden Happy Diwali text aur greeting message ko check karein. Agar AI text galat banaye, to Canva ya kisi graphics editor mein correct karein.
Step 8: Highest available image quality mein final portrait export karein.
8K prompt ek quality target hai; actual resolution AI tool ki settings par depend karegi. Is poster ko Diwali greeting aur social media post ke roop mein share kar sakte hain.