VN QR Code Template | Trending VN Video Editing Template
The exact effects and design depend on the selected template, so always check its preview before starting your edit.
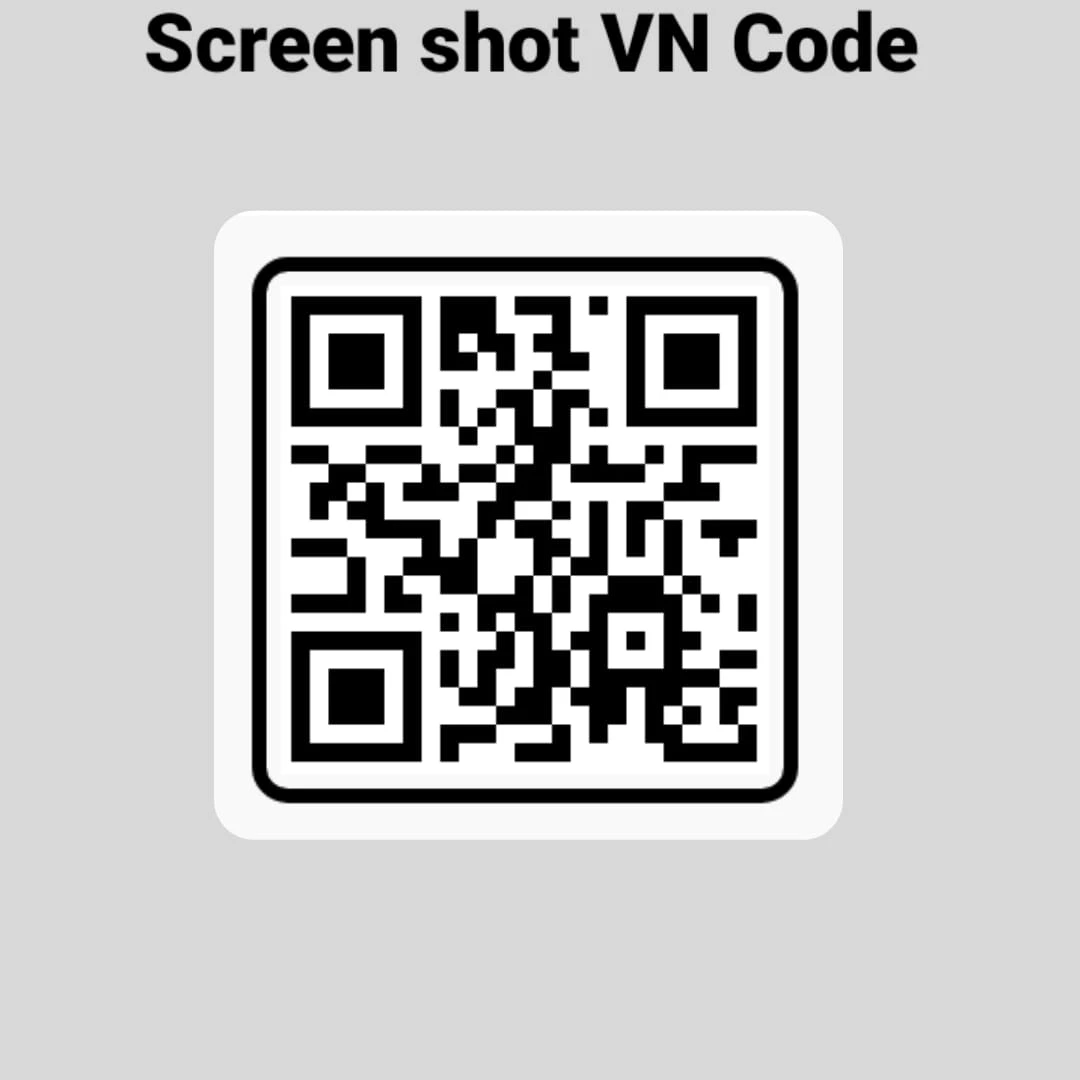
Note: VN app ke version aur template ke hisaab se options alag ho sakte hain.
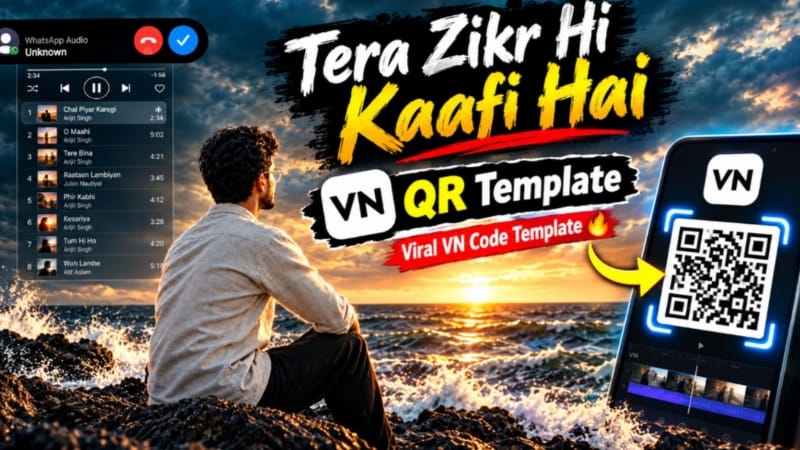
1. Tera Zikr Hi Kaafi Hai VN QR Template | Viral VN Code Template
Tera Zikr Hi Kaafi Hai VN QR Template ek ready-made video editing template hai. Iski help se aap apni photos aur video clips ko preset transitions, effects aur timing ke saath edit kar sakte hain. Ye template Instagram Reels, YouTube Shorts aur WhatsApp Status ke liye useful ho sakta hai. Source
Step 1: VN App Install Karein
Apne phone mein VN Video Editor install karke open karein. Agar app pehle se installed hai, to uska updated version use karein.
Step 2: QR Code Open Karein
NoorEditing07.com par Tera Zikr Hi Kaafi Hai VN QR Template page open karein aur available QR Code ko screen par dikhayein.
Step 3: QR Code Scan Karein
VN app ke QR Code Scanner feature par jaakar code scan karein. Template open hone par Use ya Apply Template option select karein, agar available ho.
Step 4: Photos Select Karein
Gallery se template ke liye required photos ya video clips choose karein. Agar specific number of clips required ho, to wahi number select karein.
Step 5: Preview Check Karein
Transitions, clip timing aur photo positions check karein. Zarurat ho to media replace karein ya available options se minor adjustments karein.
Step 6: Export Karein
Final preview check karke suitable video quality select karein aur export karein. Ab apna edit Instagram Reels, YouTube Shorts ya WhatsApp Status par share kar sakte hain.
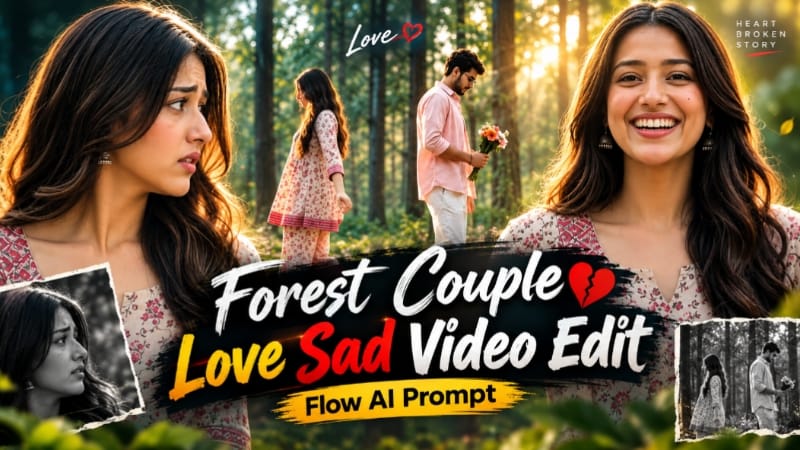
2. Forest Couple AI Video Edit | Emotional Flow AI Prompt
Forest Couple AI Video ek emotional cinematic concept hai, jisme green forest, golden-hour sunlight, autumn leaves aur colourful flower bouquet ke saath eight-shot sequence create hota hai. Is video ka distinctive feature central scene mein ghost-style transparency ya double-exposure effect hai. Source
Step 1: Dono Character Photos Ready Karein
Male aur female characters ki clear reference images select karein. Male ke liye Image 1 aur female ke liye Image 2 use karein.
Step 2: Character Appearance Maintain Karein
Male character pastel-pink shirt, white T-shirt, white pleated trousers aur silver pendant chain pehenta hai. Female character cream-beige floral kurti, matching palazzo aur tan Kolhapuri sandals mein hai.
Step 3: Flow AI Open Karein
Flow AI mein video-generation option open karke dono reference images upload karein, agar reference feature available ho.
Step 4: Prompt Paste Karein
Forest Couple AI Video Prompt paste karein. Page ke concept ke mutabik 16:9 landscape aur 10-second video target rakhein.
Step 5: Eight Shots Generate Karein
Woman ka opening close-up, bouquet ke saath man, woman ka arms-open gesture aur man ka medium shot create karein. Fifth shot mein dono opposite directions se walk karte hue semi-transparent effect ke saath ek-doosre ki positions cross karte hain.
Step 6: Final Shots Complete Karein
Woman ke emotional close-up, man ke serious expression aur final woman close-up ko sequence mein rakhein.
Step 7: Review Aur Export
Faces, outfits, bouquet aur transition check karein. Zarurat par scenes separately generate karke combine karein aur final video export karein.
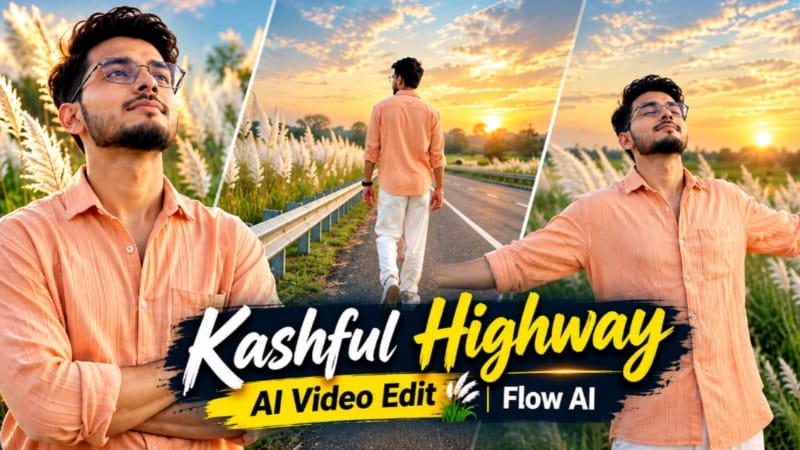
3. Kashful Highway Cinematic AI Video | Flow AI Prompt
Kashful Highway Cinematic AI Video ek photo-to-video concept hai, jisme rural highway, tall white Kashful grass aur soft indigo-amber sunset lighting ke saath six cinematic scenes create hote hain. Source
Step 1: Reference Photo Select Karein
Apni clear photo choose karein, jisme face aur hairstyle visible hon. Is image ko character identity reference ke roop mein use karein.
Step 2: Flow AI Open Karein
Flow AI ka video-generation feature open karein aur reference photo upload karein.
Step 3: Prompt Paste Karein
Kashful Highway Cinematic AI Video Prompt copy karke paste karein. 16:9 widescreen format select karein, agar available ho.
Step 4: Outfit Maintain Karein
Character ke liye peach-orange button-down shirt, loose white trousers aur white casual sneakers ka look maintain karein.
Step 5: Six Cinematic Scenes Banayein
Pehle roadside railing ke paas back-view walking shot rakhein. Uske baad metal barrier ke against arms-crossed pose aur highway ki taraf dekhte hue wide side-profile shot banayein.
Step 6: Remaining Scenes Generate Karein
Character ko road ki white line par arms spread karke walk karte hue, sky ki taraf eyes closed karke dekhte hue aur final scene mein horizon ki taraf running shot mein dikhayein.
Step 7: Consistency Check Karein
White Kashful grass, empty highway aur sunset colours ko consistent rakhein. Face aur outfit mein unwanted changes inspect karein.
Step 8: Export Karein
Agar ek generation mein sabhi scenes sahi na banein, to clips separately generate karke combine karein. Final video ko preview karke export karein.
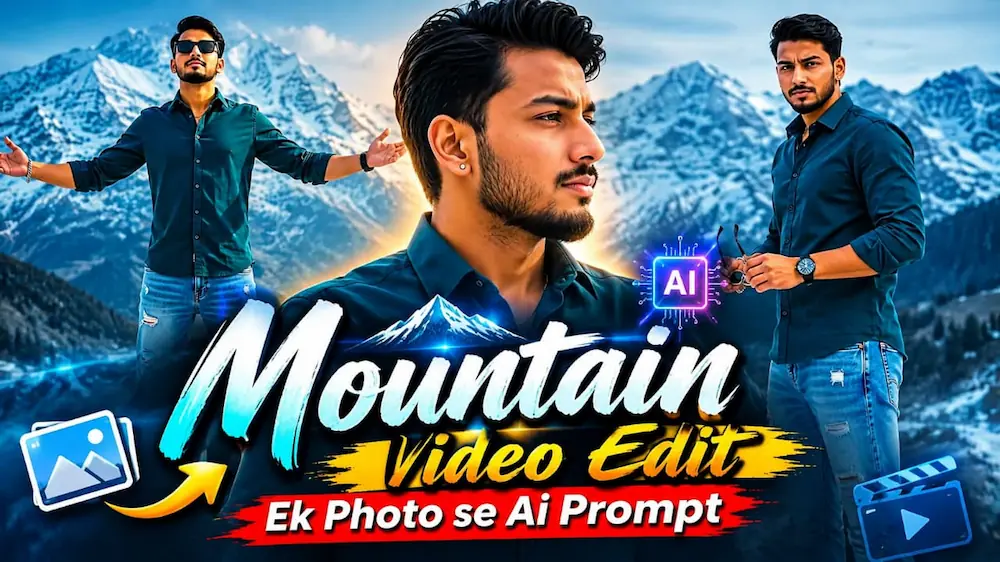
4. Mountain Video Edit – Ek Photo Se | Snow Mountain Cinematic Flow AI Prompt
Mountain Video Edit ek single-reference-photo concept hai, jisme snowy mountain landscape ke saath six cinematic fashion shots create kiye jaate hain. Cool, desaturated colour grading, overcast daylight aur realistic snow is video ko moody cinematic look dete hain. Source
Step 1: Reference Photo Ready Karein
Apni clear photo select karein. Face, hairstyle, skin tone aur body proportions clearly visible hone chahiye.
Step 2: Flow AI Open Karein
Flow AI Video Generator open karke reference photo upload karein.
Step 3: Prompt Paste Karein
Snow Mountain Cinematic Video Prompt copy karke paste karein. Page ke mutabik 16:9 landscape aur 1080p resolution target rakhein.
Step 4: Outfit Details Maintain Karein
Character dark-teal button-up shirt, rolled sleeves, light-blue ripped jeans, silver chain bracelet, black watch, stud earring aur thin gold necklace pehenta hai.
Step 5: Six Scenes Generate Karein
Sequence mein ear ya hair touch close-up, shirt collar adjust karna, sunglasses ke saath confident look, bench par relaxed pose, hair adjust karna aur final arms-spread mountain hero shot shamil hain.
Step 6: Background Consistent Rakhein
Snow-covered mountains, dark rocky peaks aur overcast cool-toned daylight maintain karein. Har scene mein same character identity aur outfit check karein.
Step 7: Final Review Karein
Face, hands, accessories, snow details aur camera movement inspect karein. Agar koi scene inconsistent ho, to use regenerate karein.
Step 8: Video Export Karein
Final clips ko correct sequence mein arrange karke preview karein aur supported 1080p quality mein export karein.
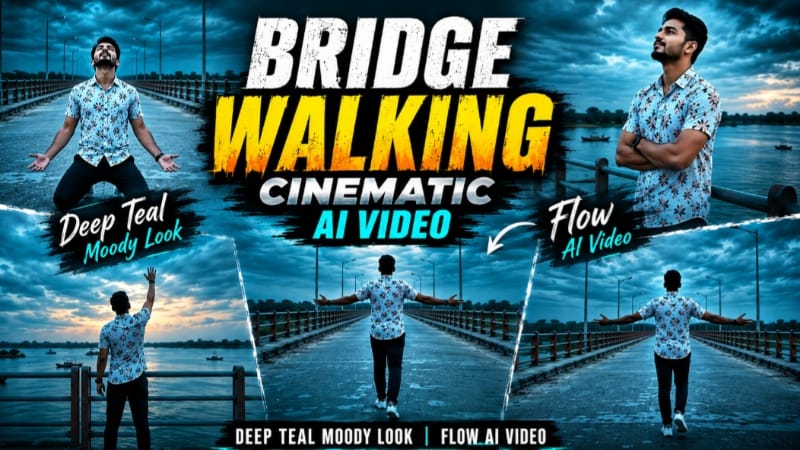
5. Bridge Walking Cinematic AI Video | Deep Teal Moody Look | Flow AI Video
Bridge Walking Cinematic AI Video ek emotional solo-walking concept hai, jisme wide concrete bridge, river, distant greenery aur deep-teal evening colour grading ka use hota hai. Is video mein seven scenes hain aur iska format vertical 9:16 hai. Source
Step 1: Reference Photo Upload Karein
Apni clear reference photo select karein, taaki face, hairstyle, skin tone aur body proportions ko guide kiya ja sake.
Step 2: Flow AI Open Karein
Flow AI Video Generator open karke reference photo upload karein.
Step 3: Prompt Paste Karein
Bridge Walking Cinematic AI Video Prompt copy karke paste karein. 9:16 vertical format aur 1080p resolution select karein, agar available ho.
Step 4: Outfit Maintain Karein
White floral-printed short-sleeve shirt, dark navy pants aur white sneakers poore video mein same rakhein.
Step 5: Seven Scenes Generate Karein
Opening mein man bridge par back-view se walk karte hue arms spread karta hai. Agle shots mein railing ke paas arms crossed pose, bridge par walking aur centre mein kneeling emotional pose shamil hain.
Step 6: Remaining Scenes Complete Karein
Side-profile walking, bridge par back-view walk aur final shot mein railing ke paas khade hokar sky ki taraf ek arm raise karna include karein.
Step 7: Deep-Teal Look Maintain Karein
Teal-and-orange railing, wide river, distant islands, boats aur overcast dusk sky consistent rakhein. Scene ko nighttime jaisa dark na banayein.
Step 8: Final Video Export Karein
Face, outfit, location aur colour grading check karein. Bottom-right corner mein subtle NoorEditing07 watermark add karke final vertical video export karein.